Amiga 2000 green screen

14.11.2019: Heute habe ich mit Schrecken festgestellt, dass mein Commodore Amiga 2000 aus dem Jahre 1987 nur noch einen grünen Bildschirm zeigt. Google meinte der Blinkcode deute auf einen RAM-Fehler.

Ich hatte das Problem bereits einmal, da half es die Chips  Denise, Gary, Paula, Fat Lady/Fat Agnus, Kickstart und CPU besser in die Sockel zu drücken, danach lief er wieder. Diesmal nicht.

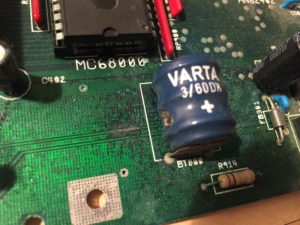
Nach näherem Betrachten habe ich gesehen, dass die Batterie geplatzt ist und dadurch eine Leiterbahn auf dem Board zerstört wurde. Auch fängt es überall um die Batterie an zu korrodieren:

Ich gehe mal davon aus dass dies der Auslöser des Problems ist. Nun werde ich versuchen in den nächsten Tagen das Board zu reparieren.

Ich bestelle erstmal einige Ersatzteile und berichte dann über meinen Versuch, den Amiga zu retten. Der Austausch des Lüfters, der Einbau eines HDD-Controllers und eine neue Kickstart Version 3.1 ist auch geplant. Momentan ist noch Kickstart 1.2 drauf. Updates folgen…

Continue reading Amiga 2000 green screen

Haba Nachtlicht reparieren

Wir haben zwei Haba Nachtlichter die nach kurzer Zeit nicht mehr funktioniert haben. Um der Sache auf den Grund zu gehen habe ich mir aus einem alten Schraubenzieher einen mehr oder weniger passenden Dreieck-Schraubenzieher gebastelt.

Zum Öffnen der Nachtlichter muss man die Schrauben im Uhrzeigersinn drehen, also genau umgekehrt als man sich das gewohnt ist (Linksgewinde).

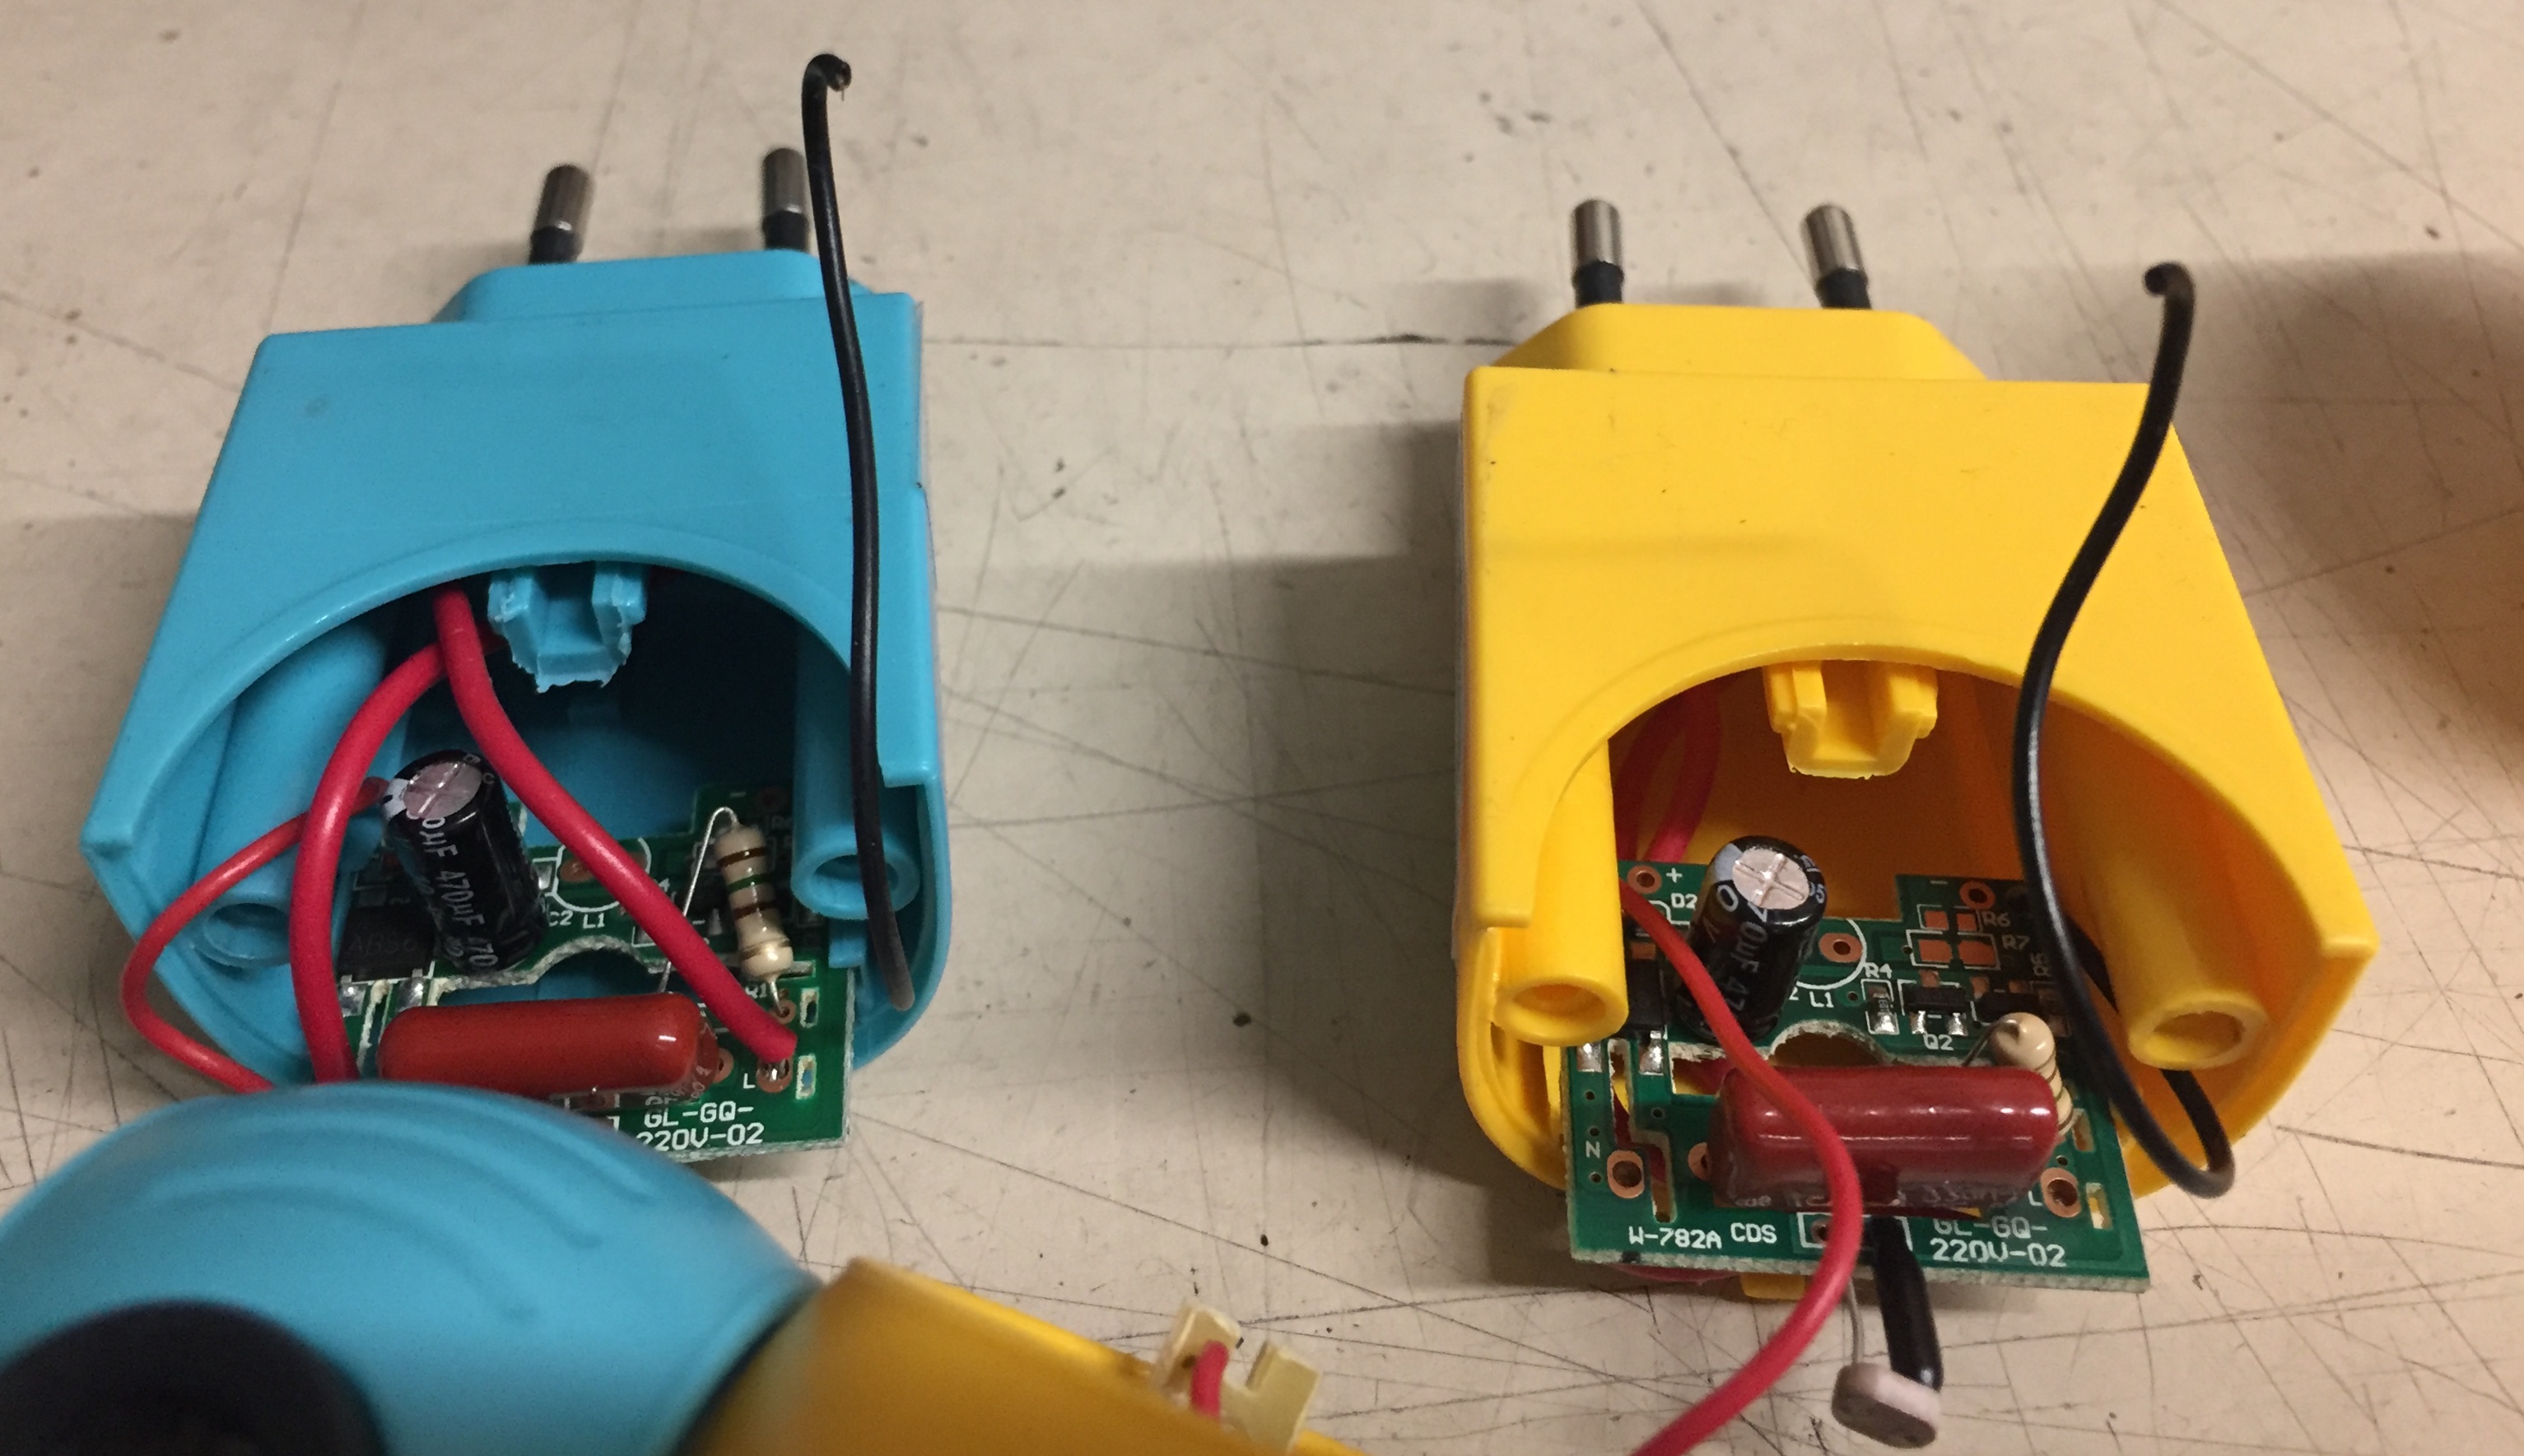
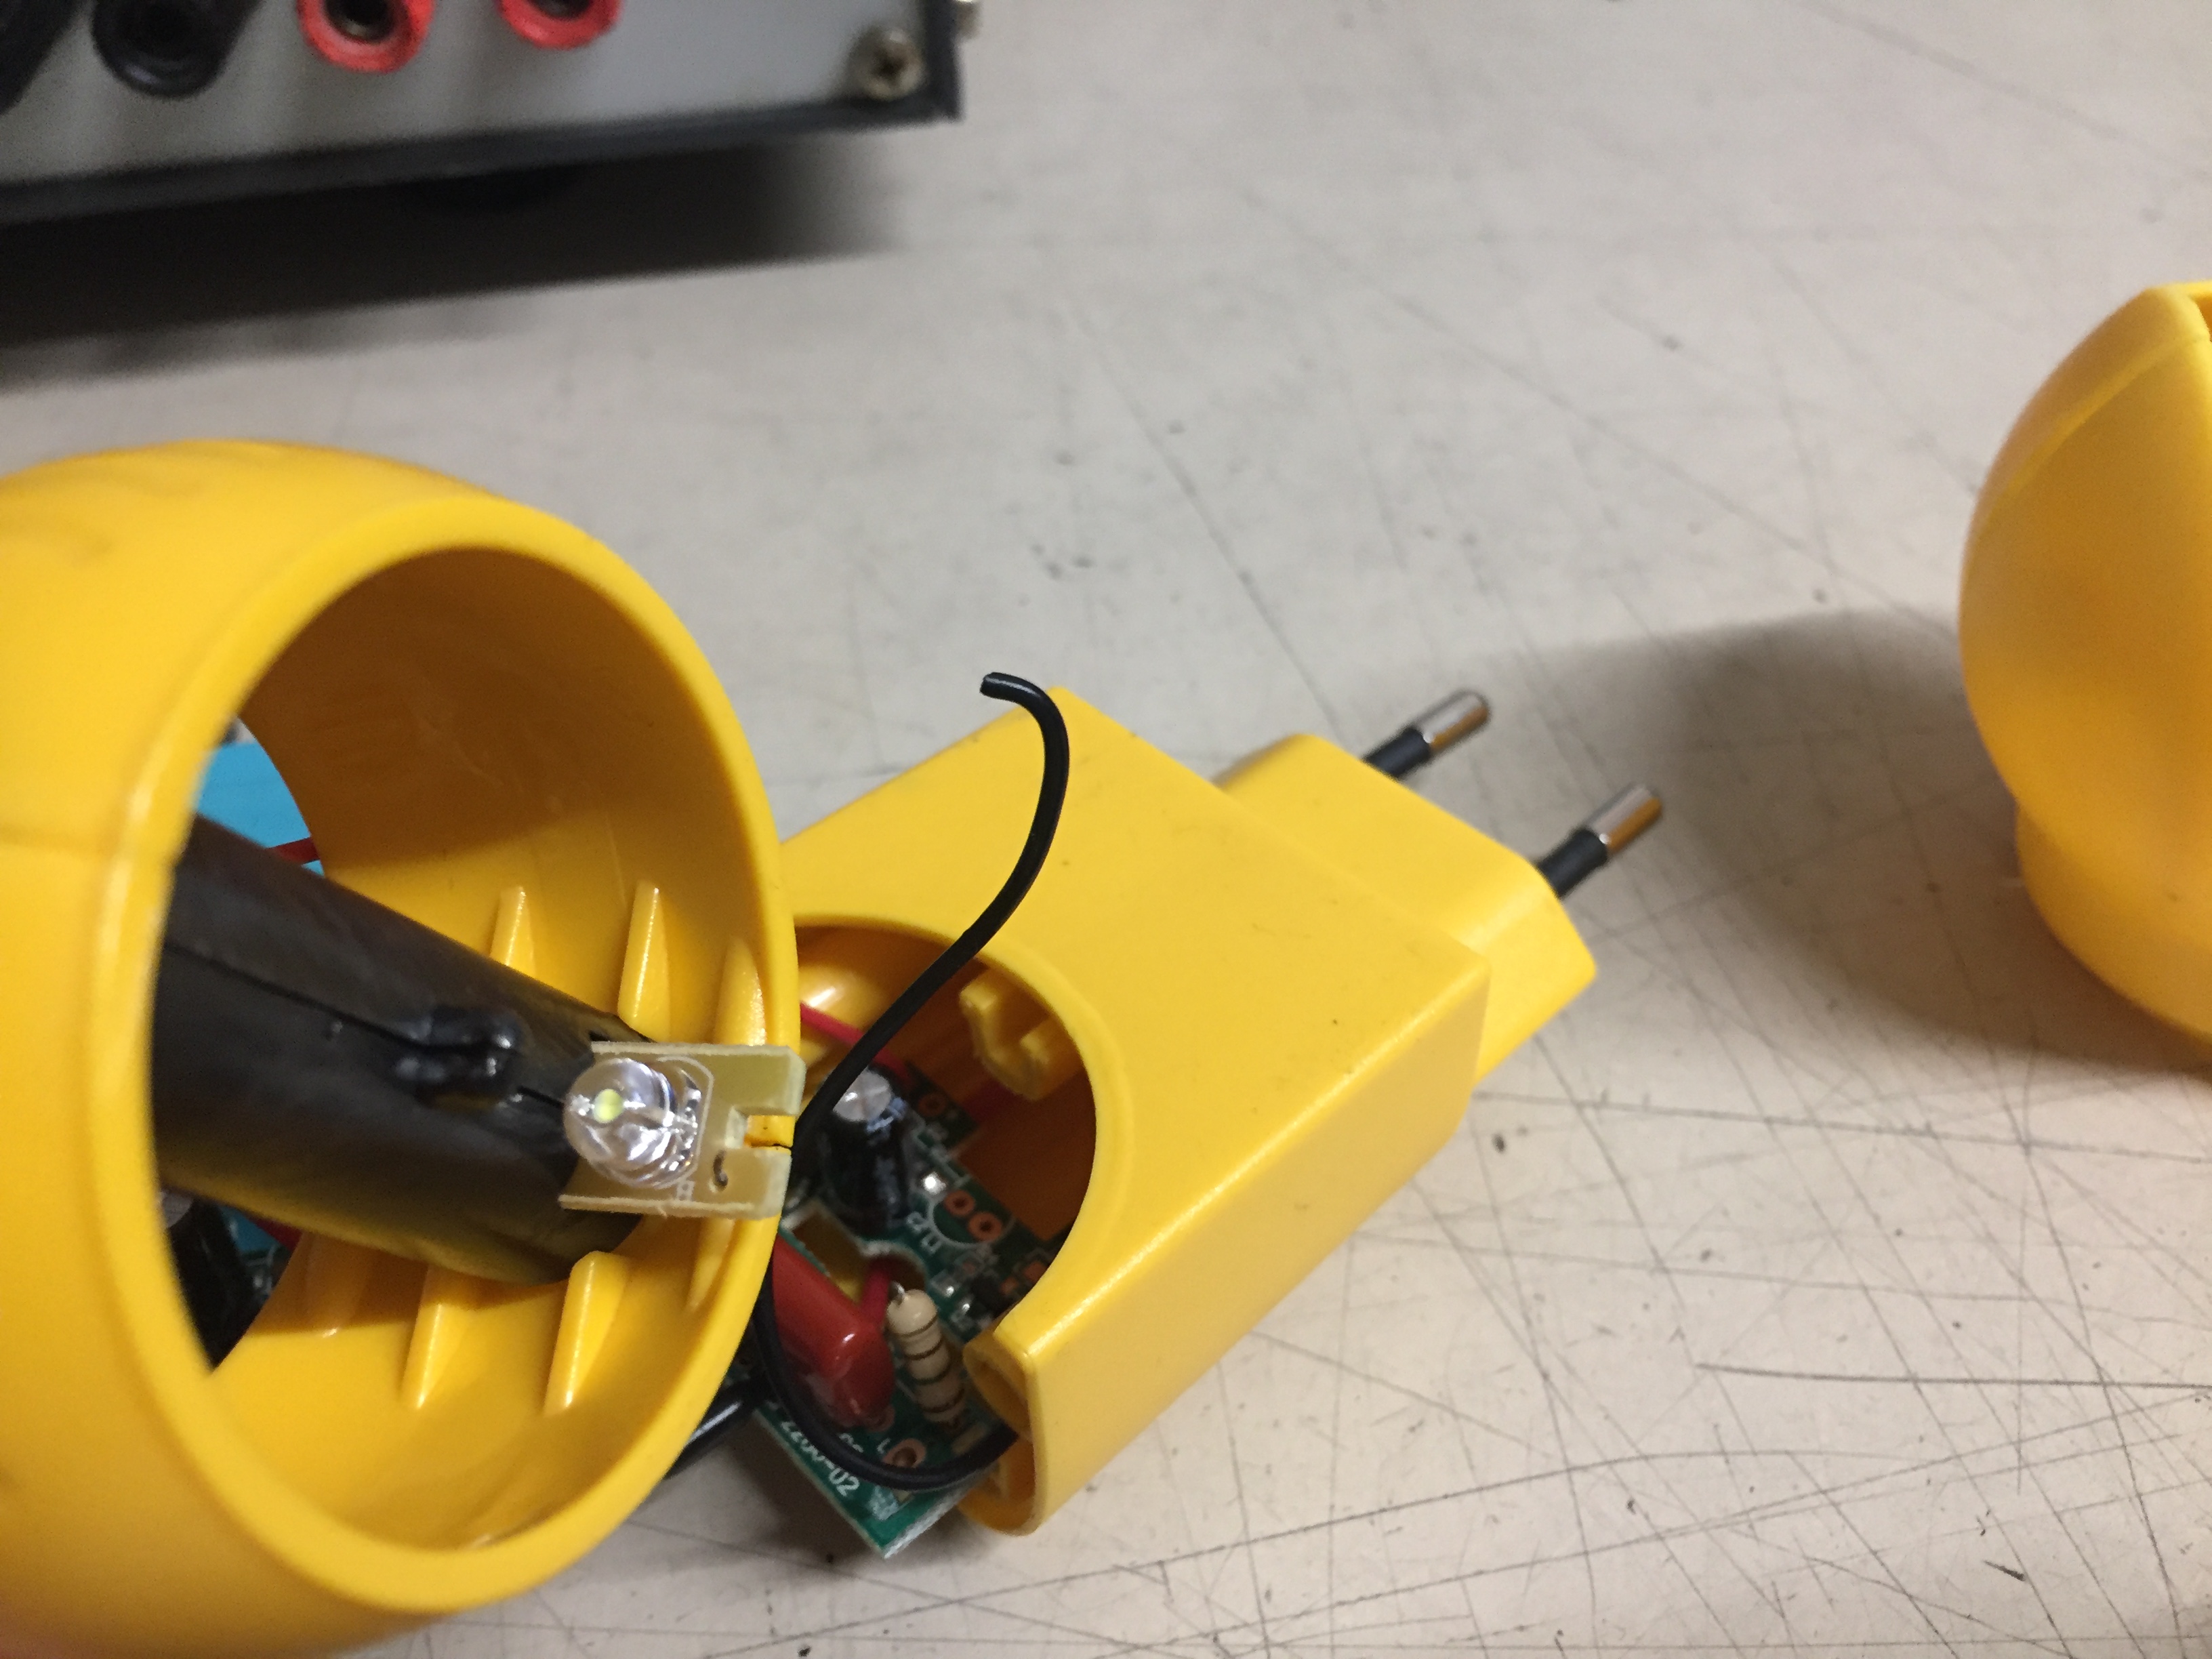
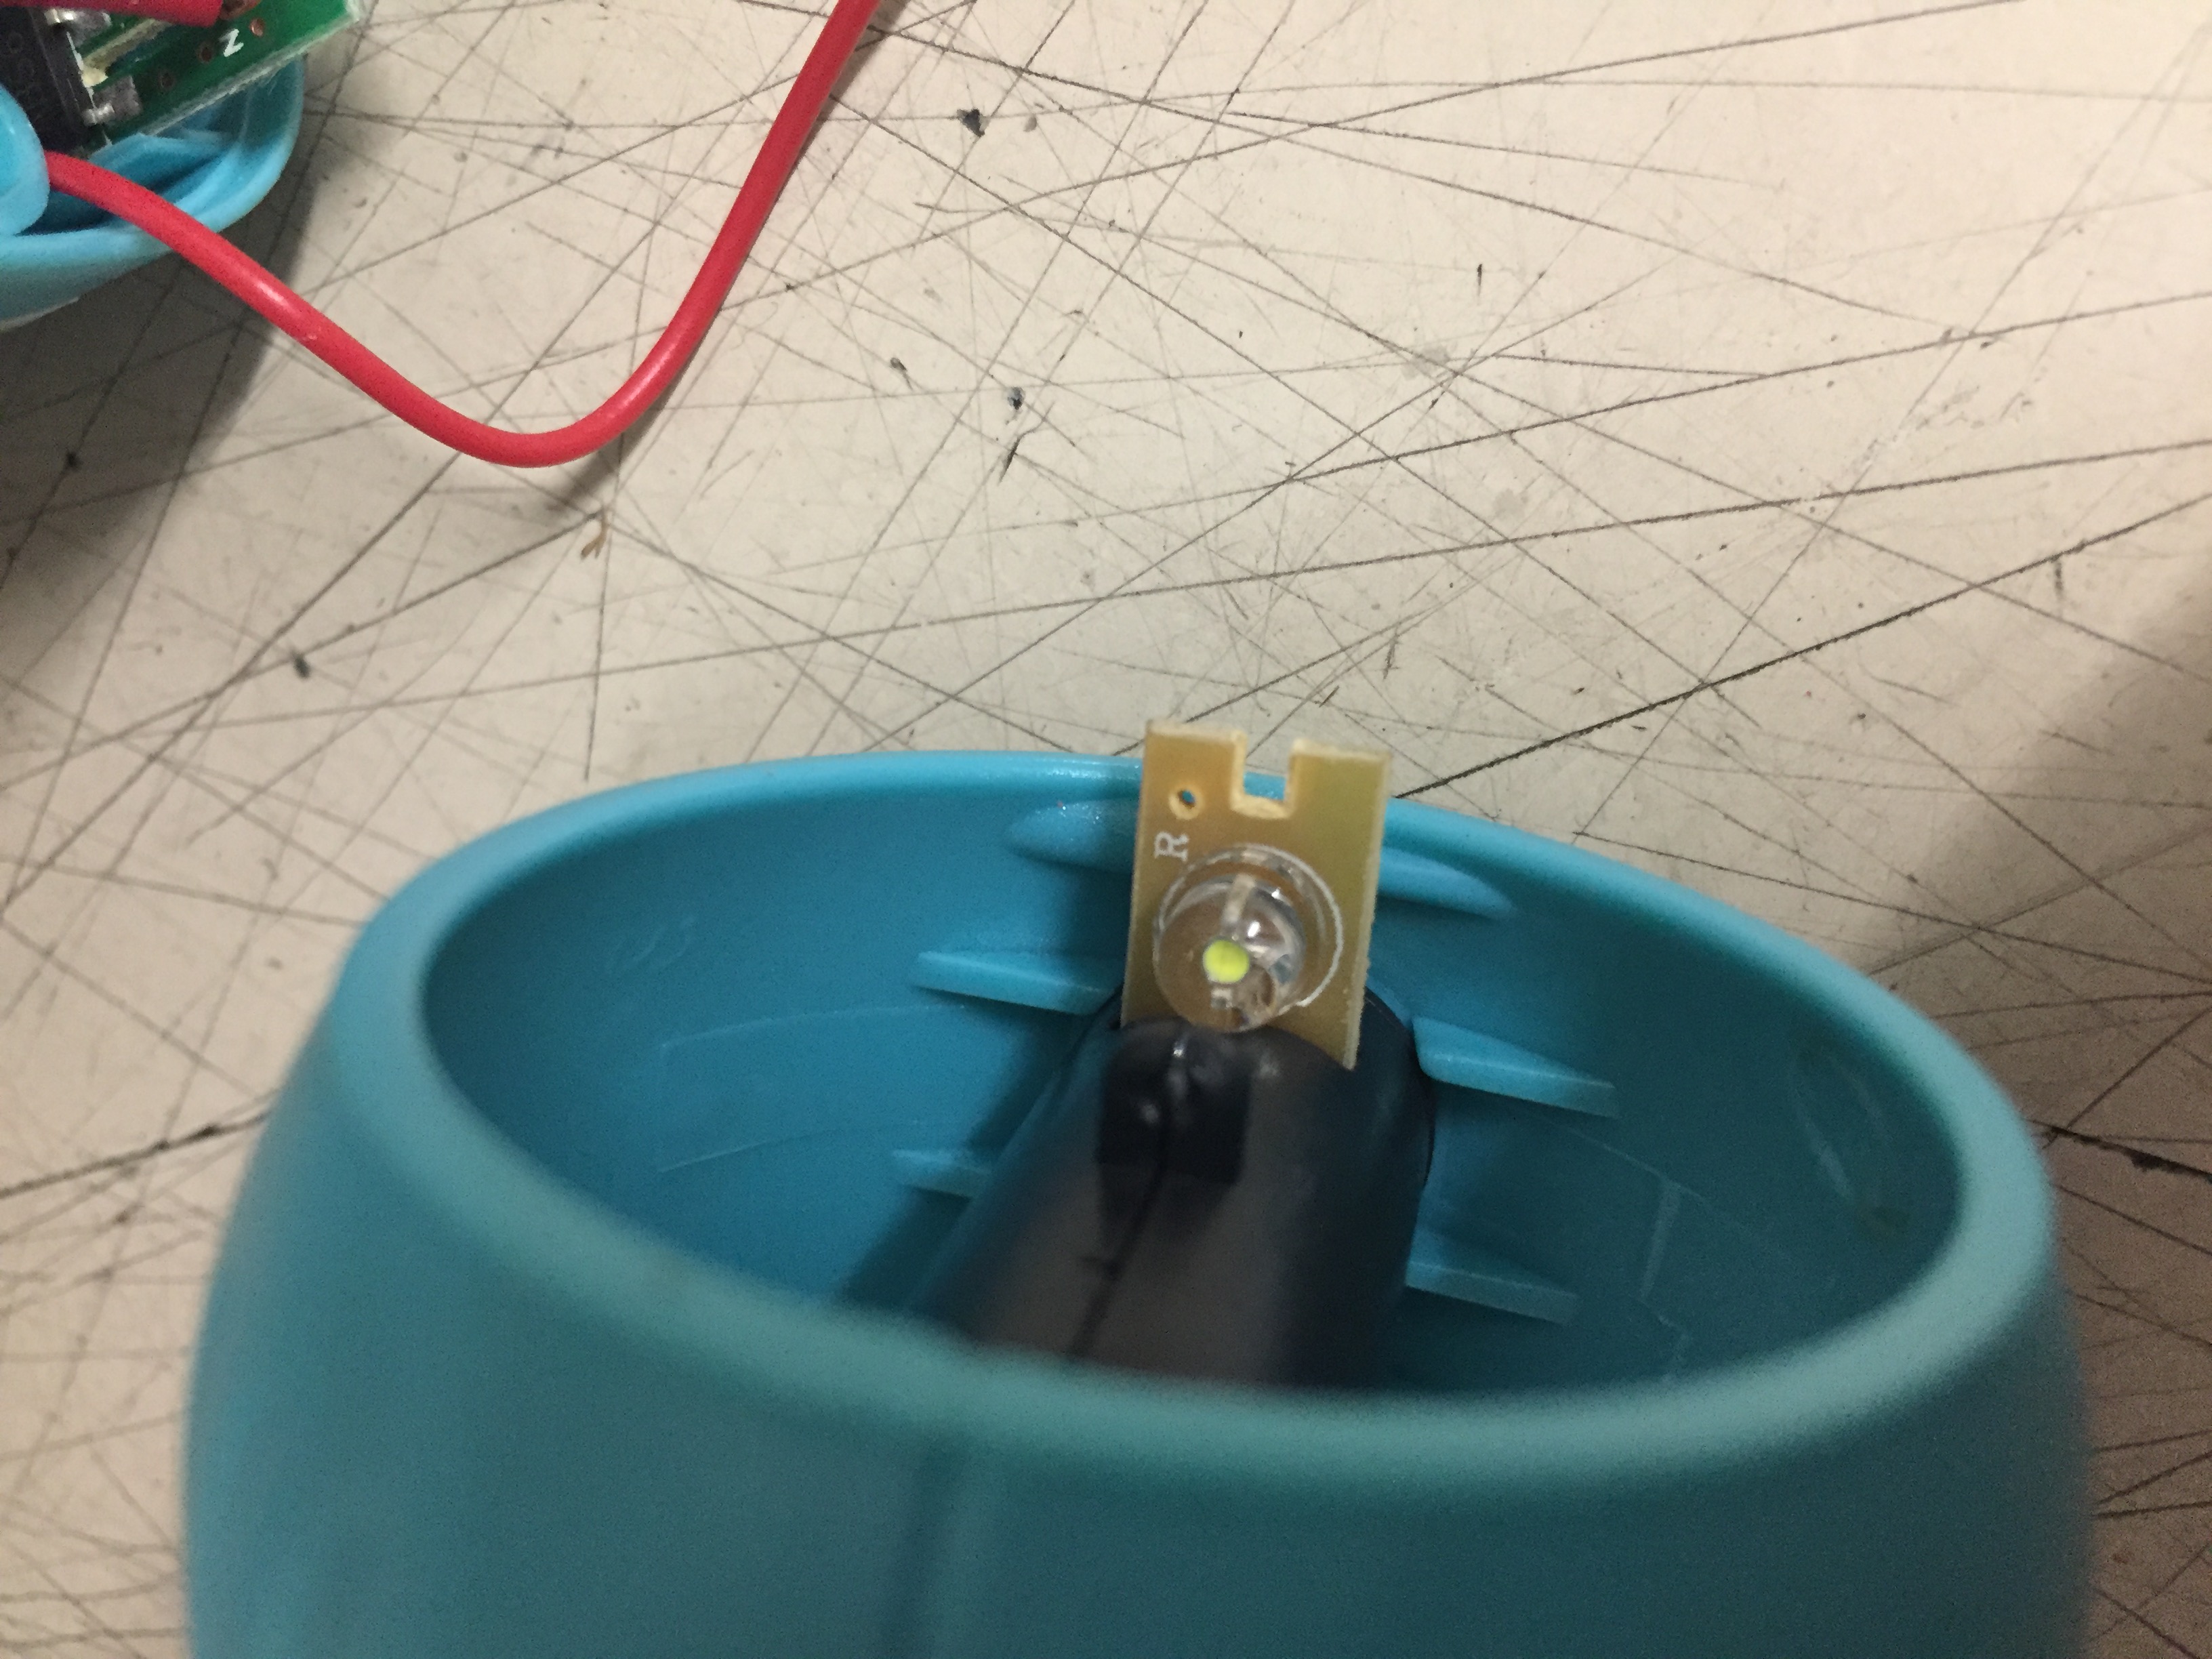
Unten im Gehäuse sind die zwei etwas längeren Schrauben, oben am Kugelkopf die zwei kürzeren. Nach dem Öffnen des Gehäuses sieht man auch schon das Problem. Anscheinend ist die schwarze Litze die zu den LED’s führt ein Schwachpunkt, bei beiden Lichtern ist diese wie man hier sieht abgebrochen:

Die Lötstellen sind mit R und B beschriftet: Red/Black.


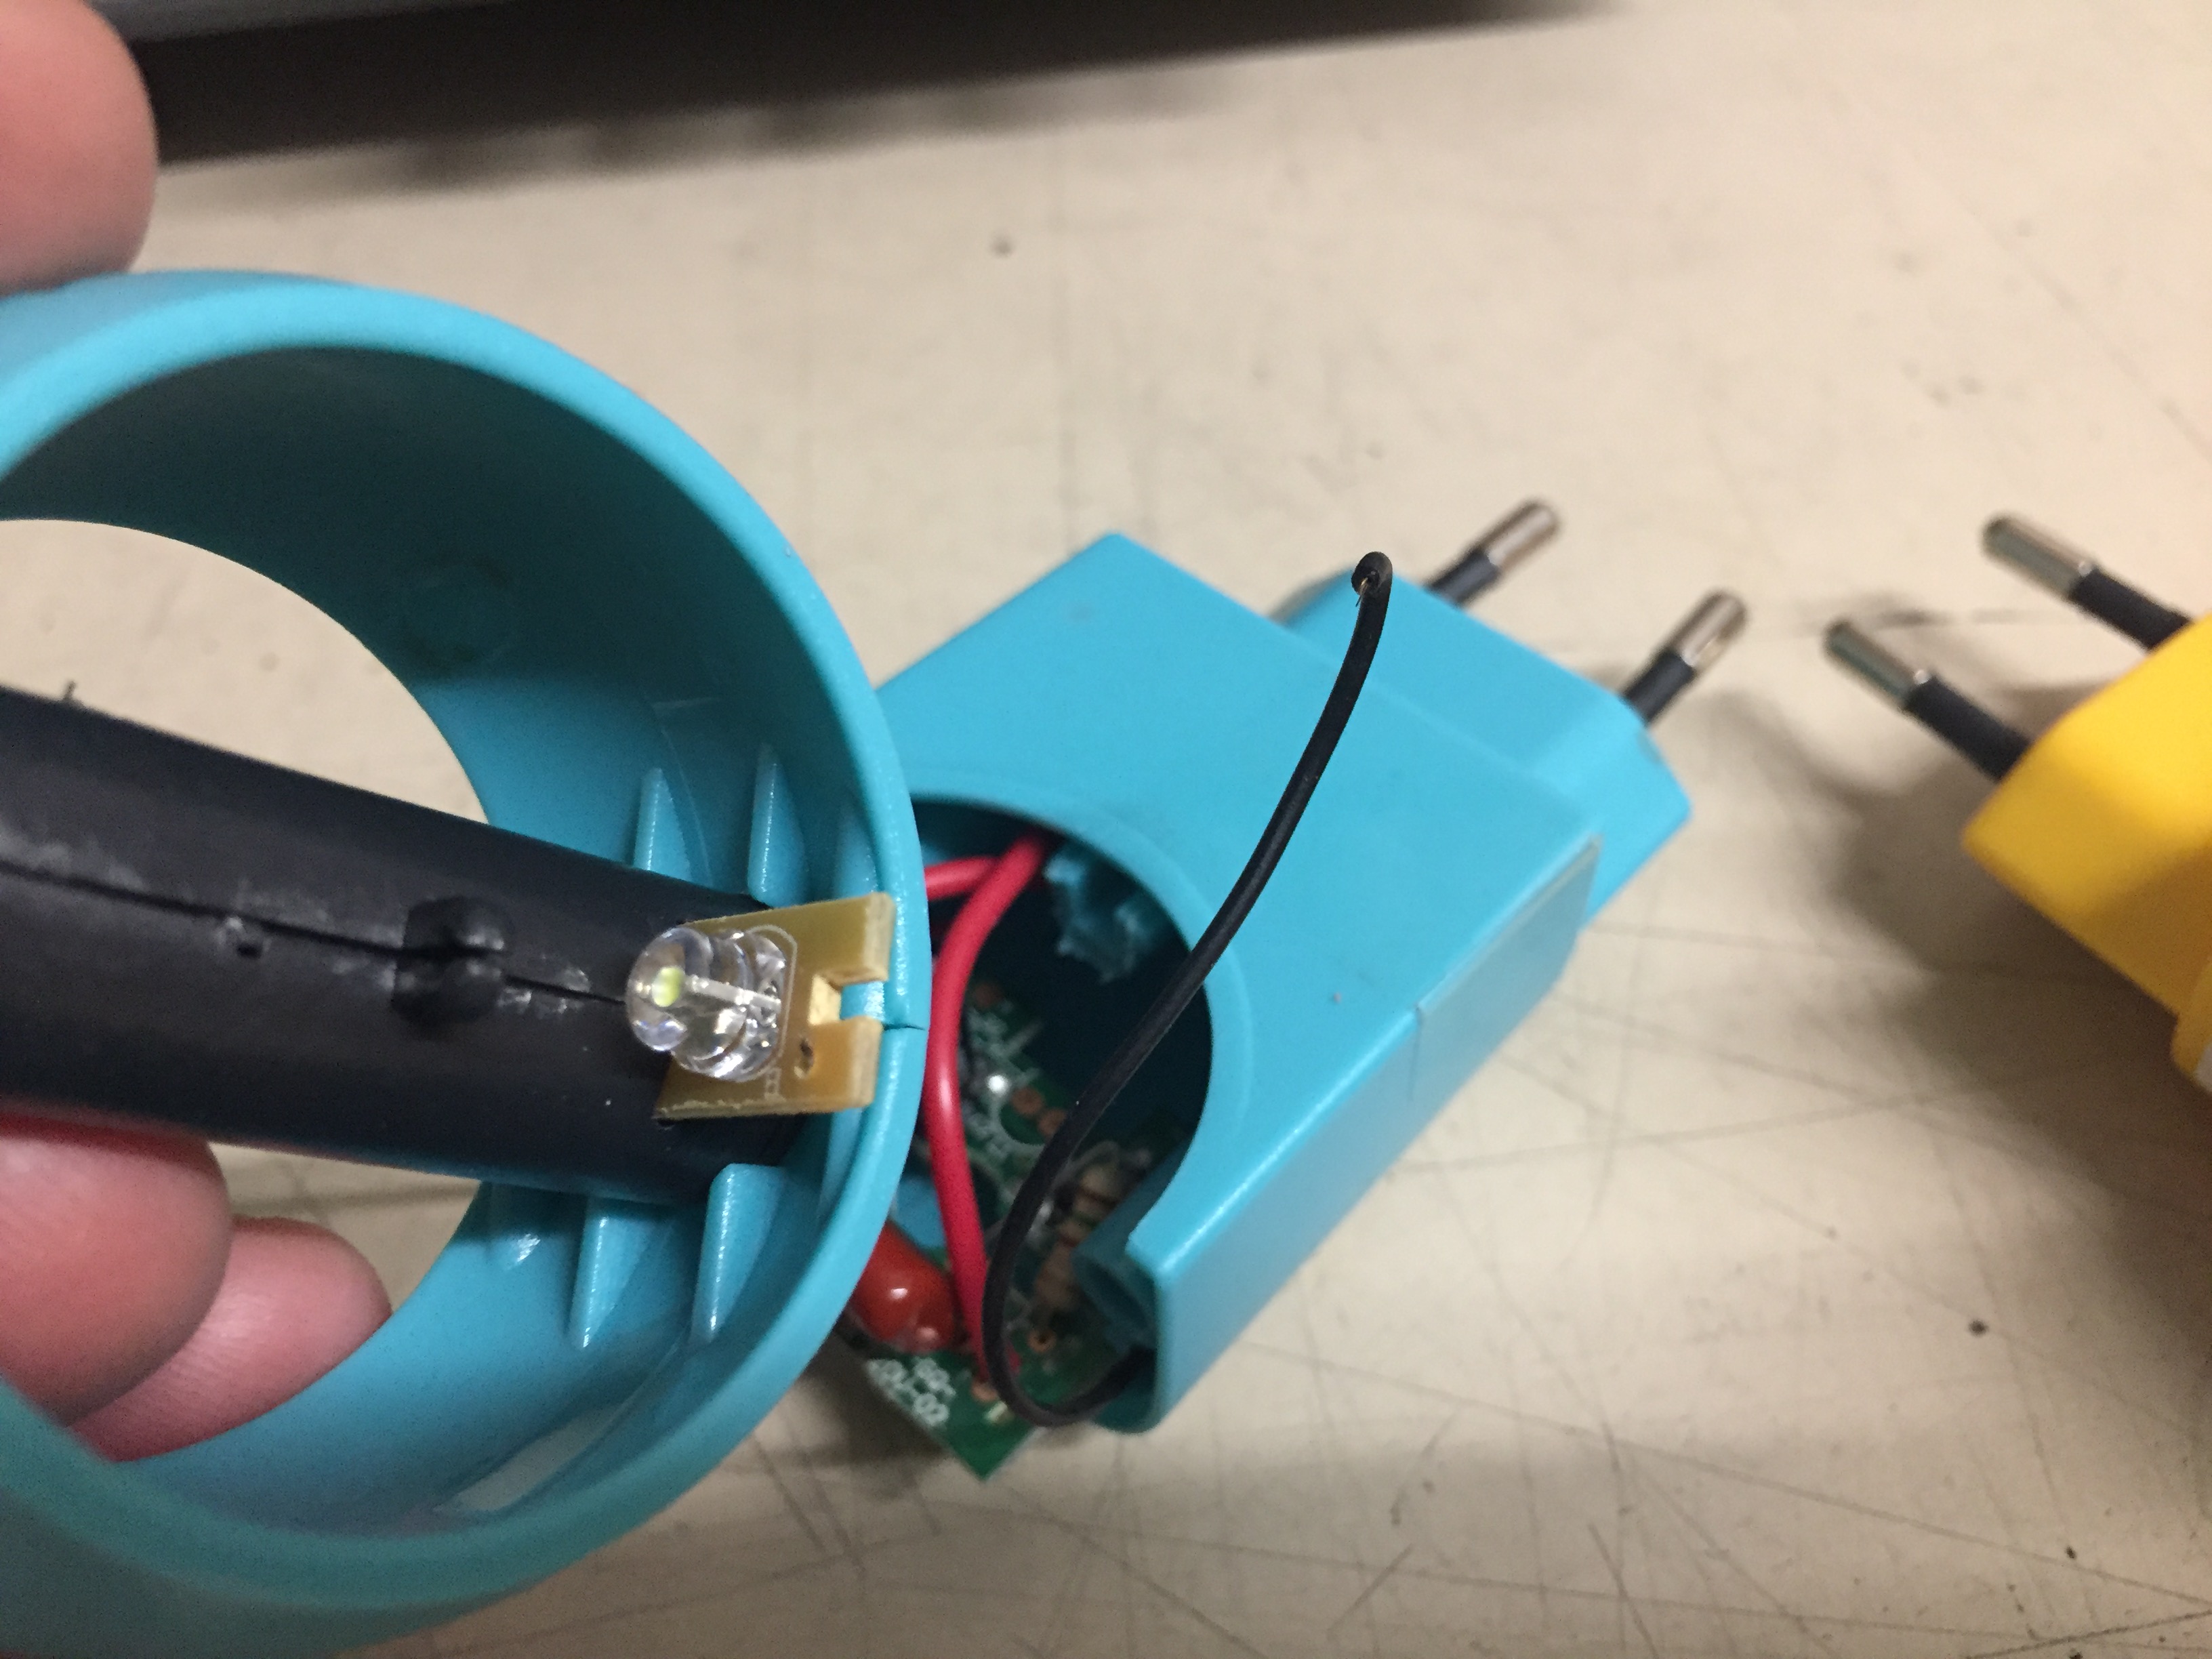
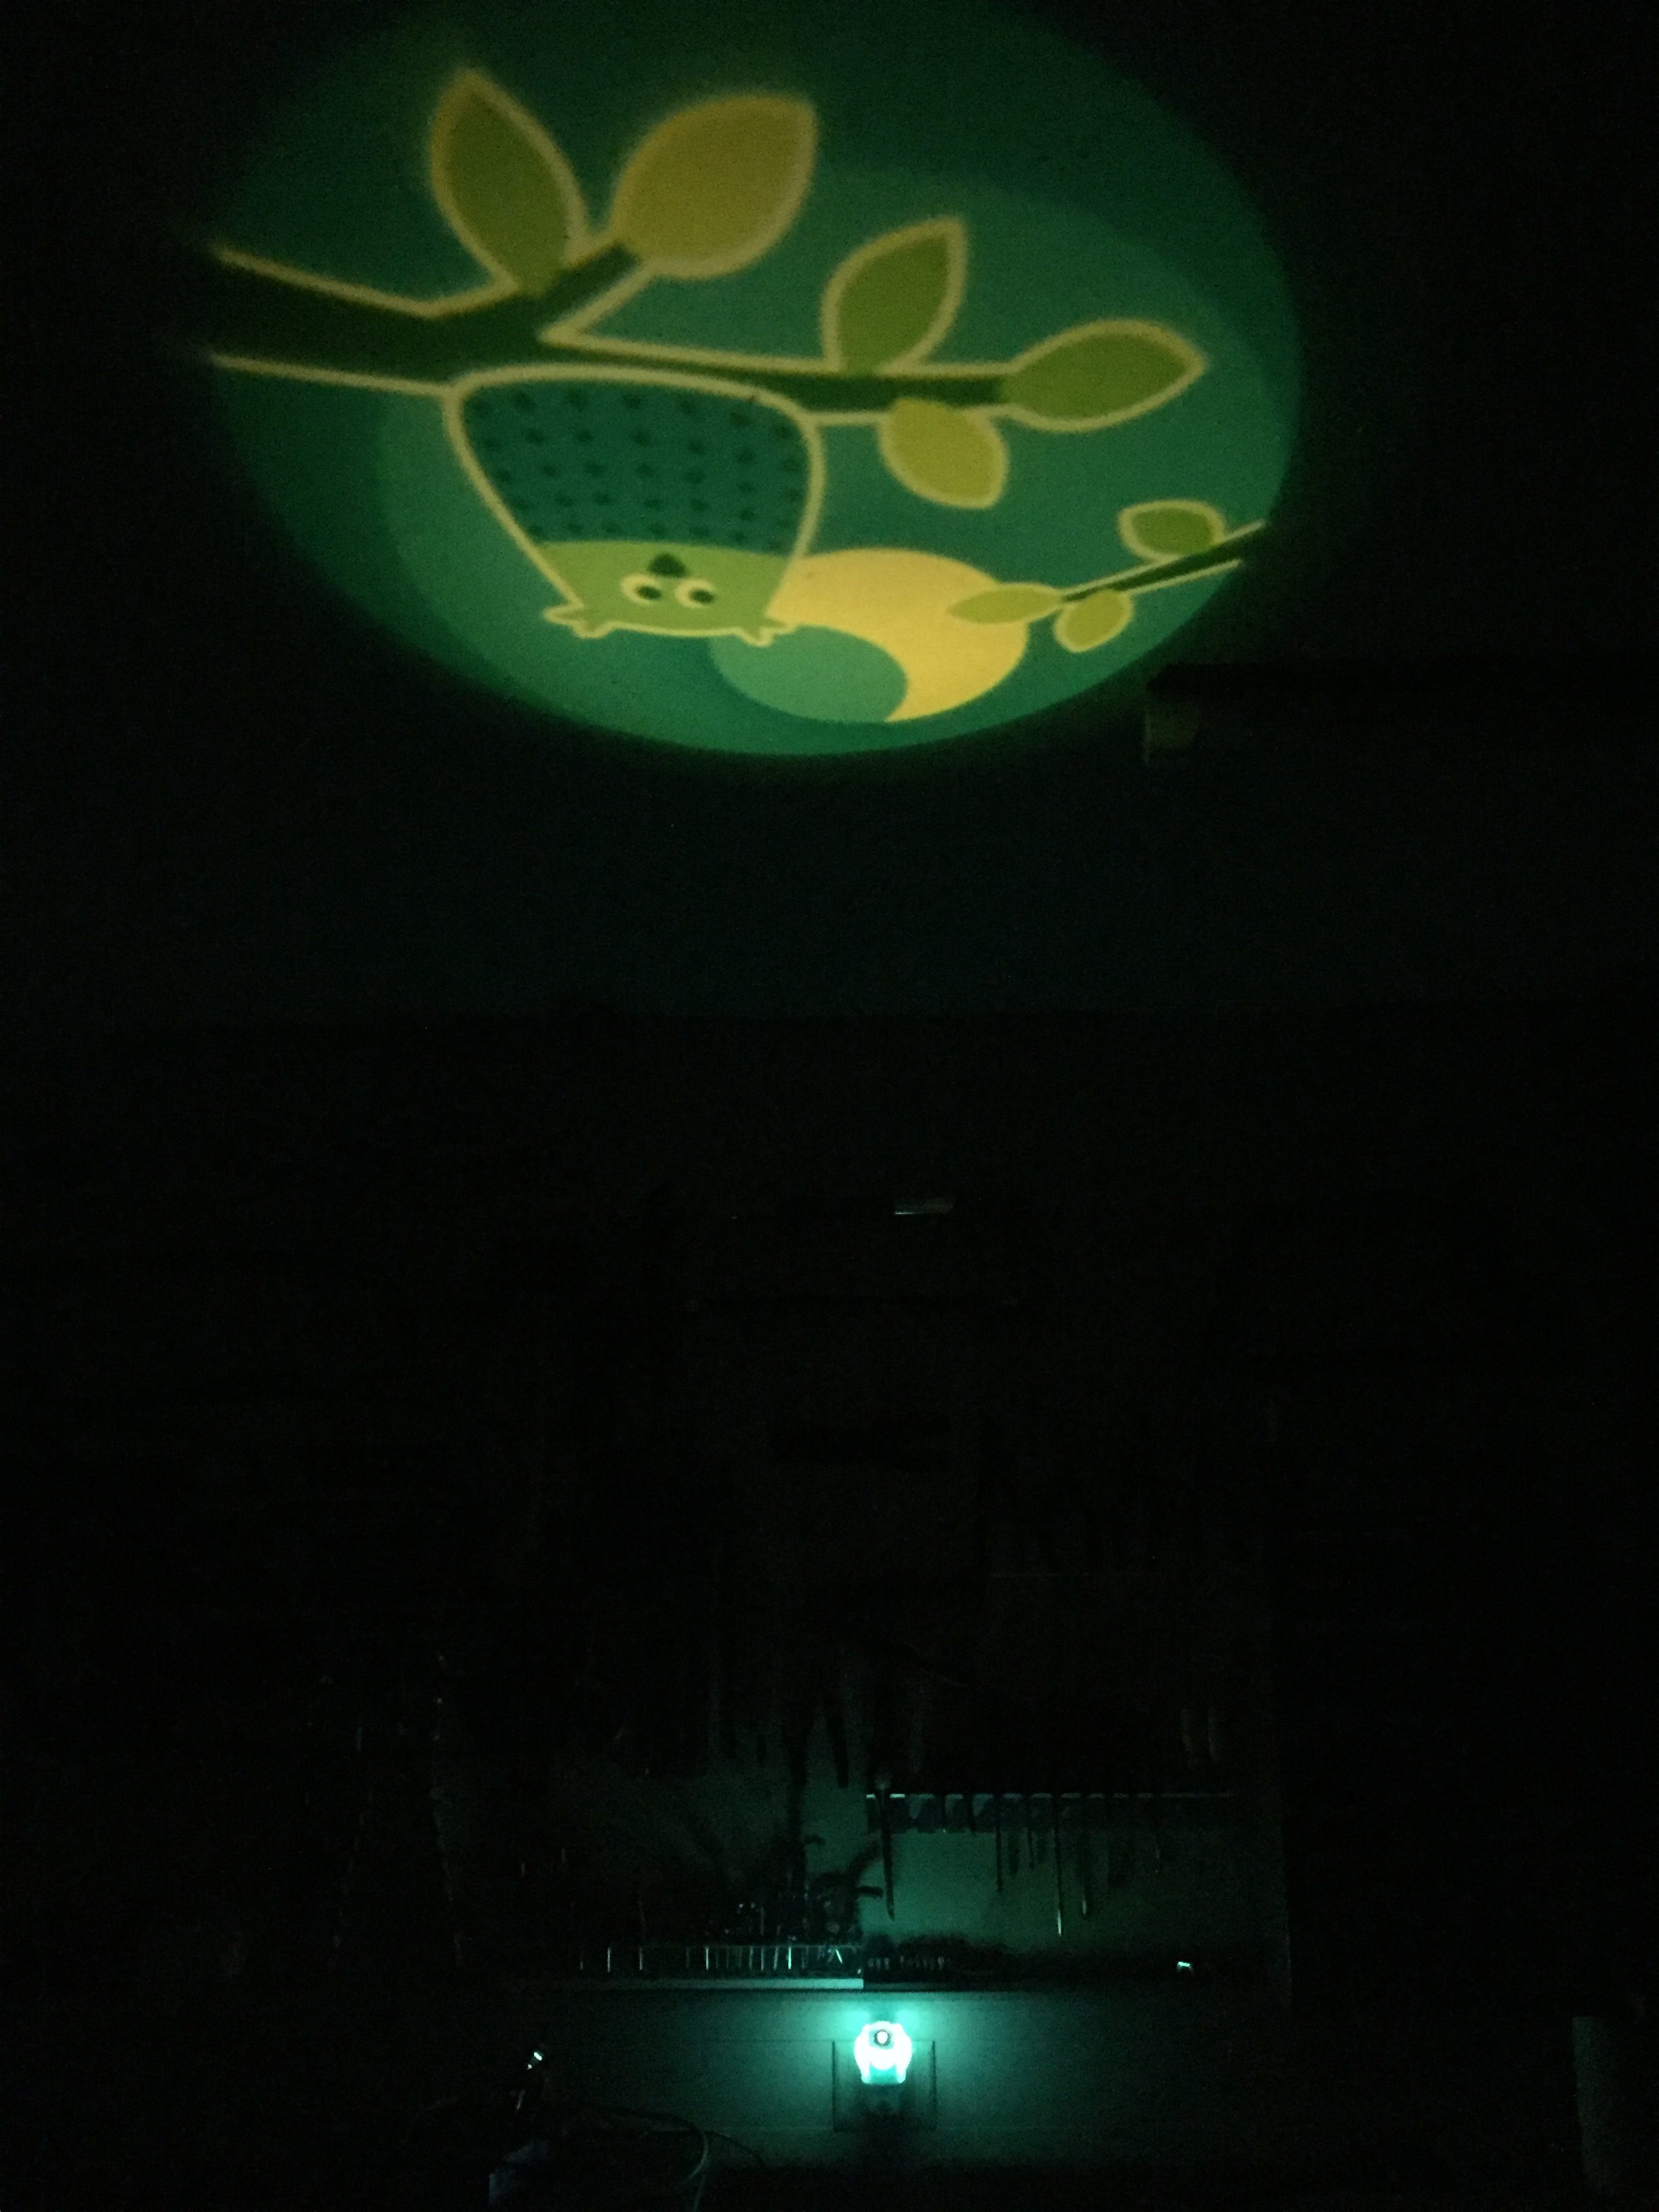
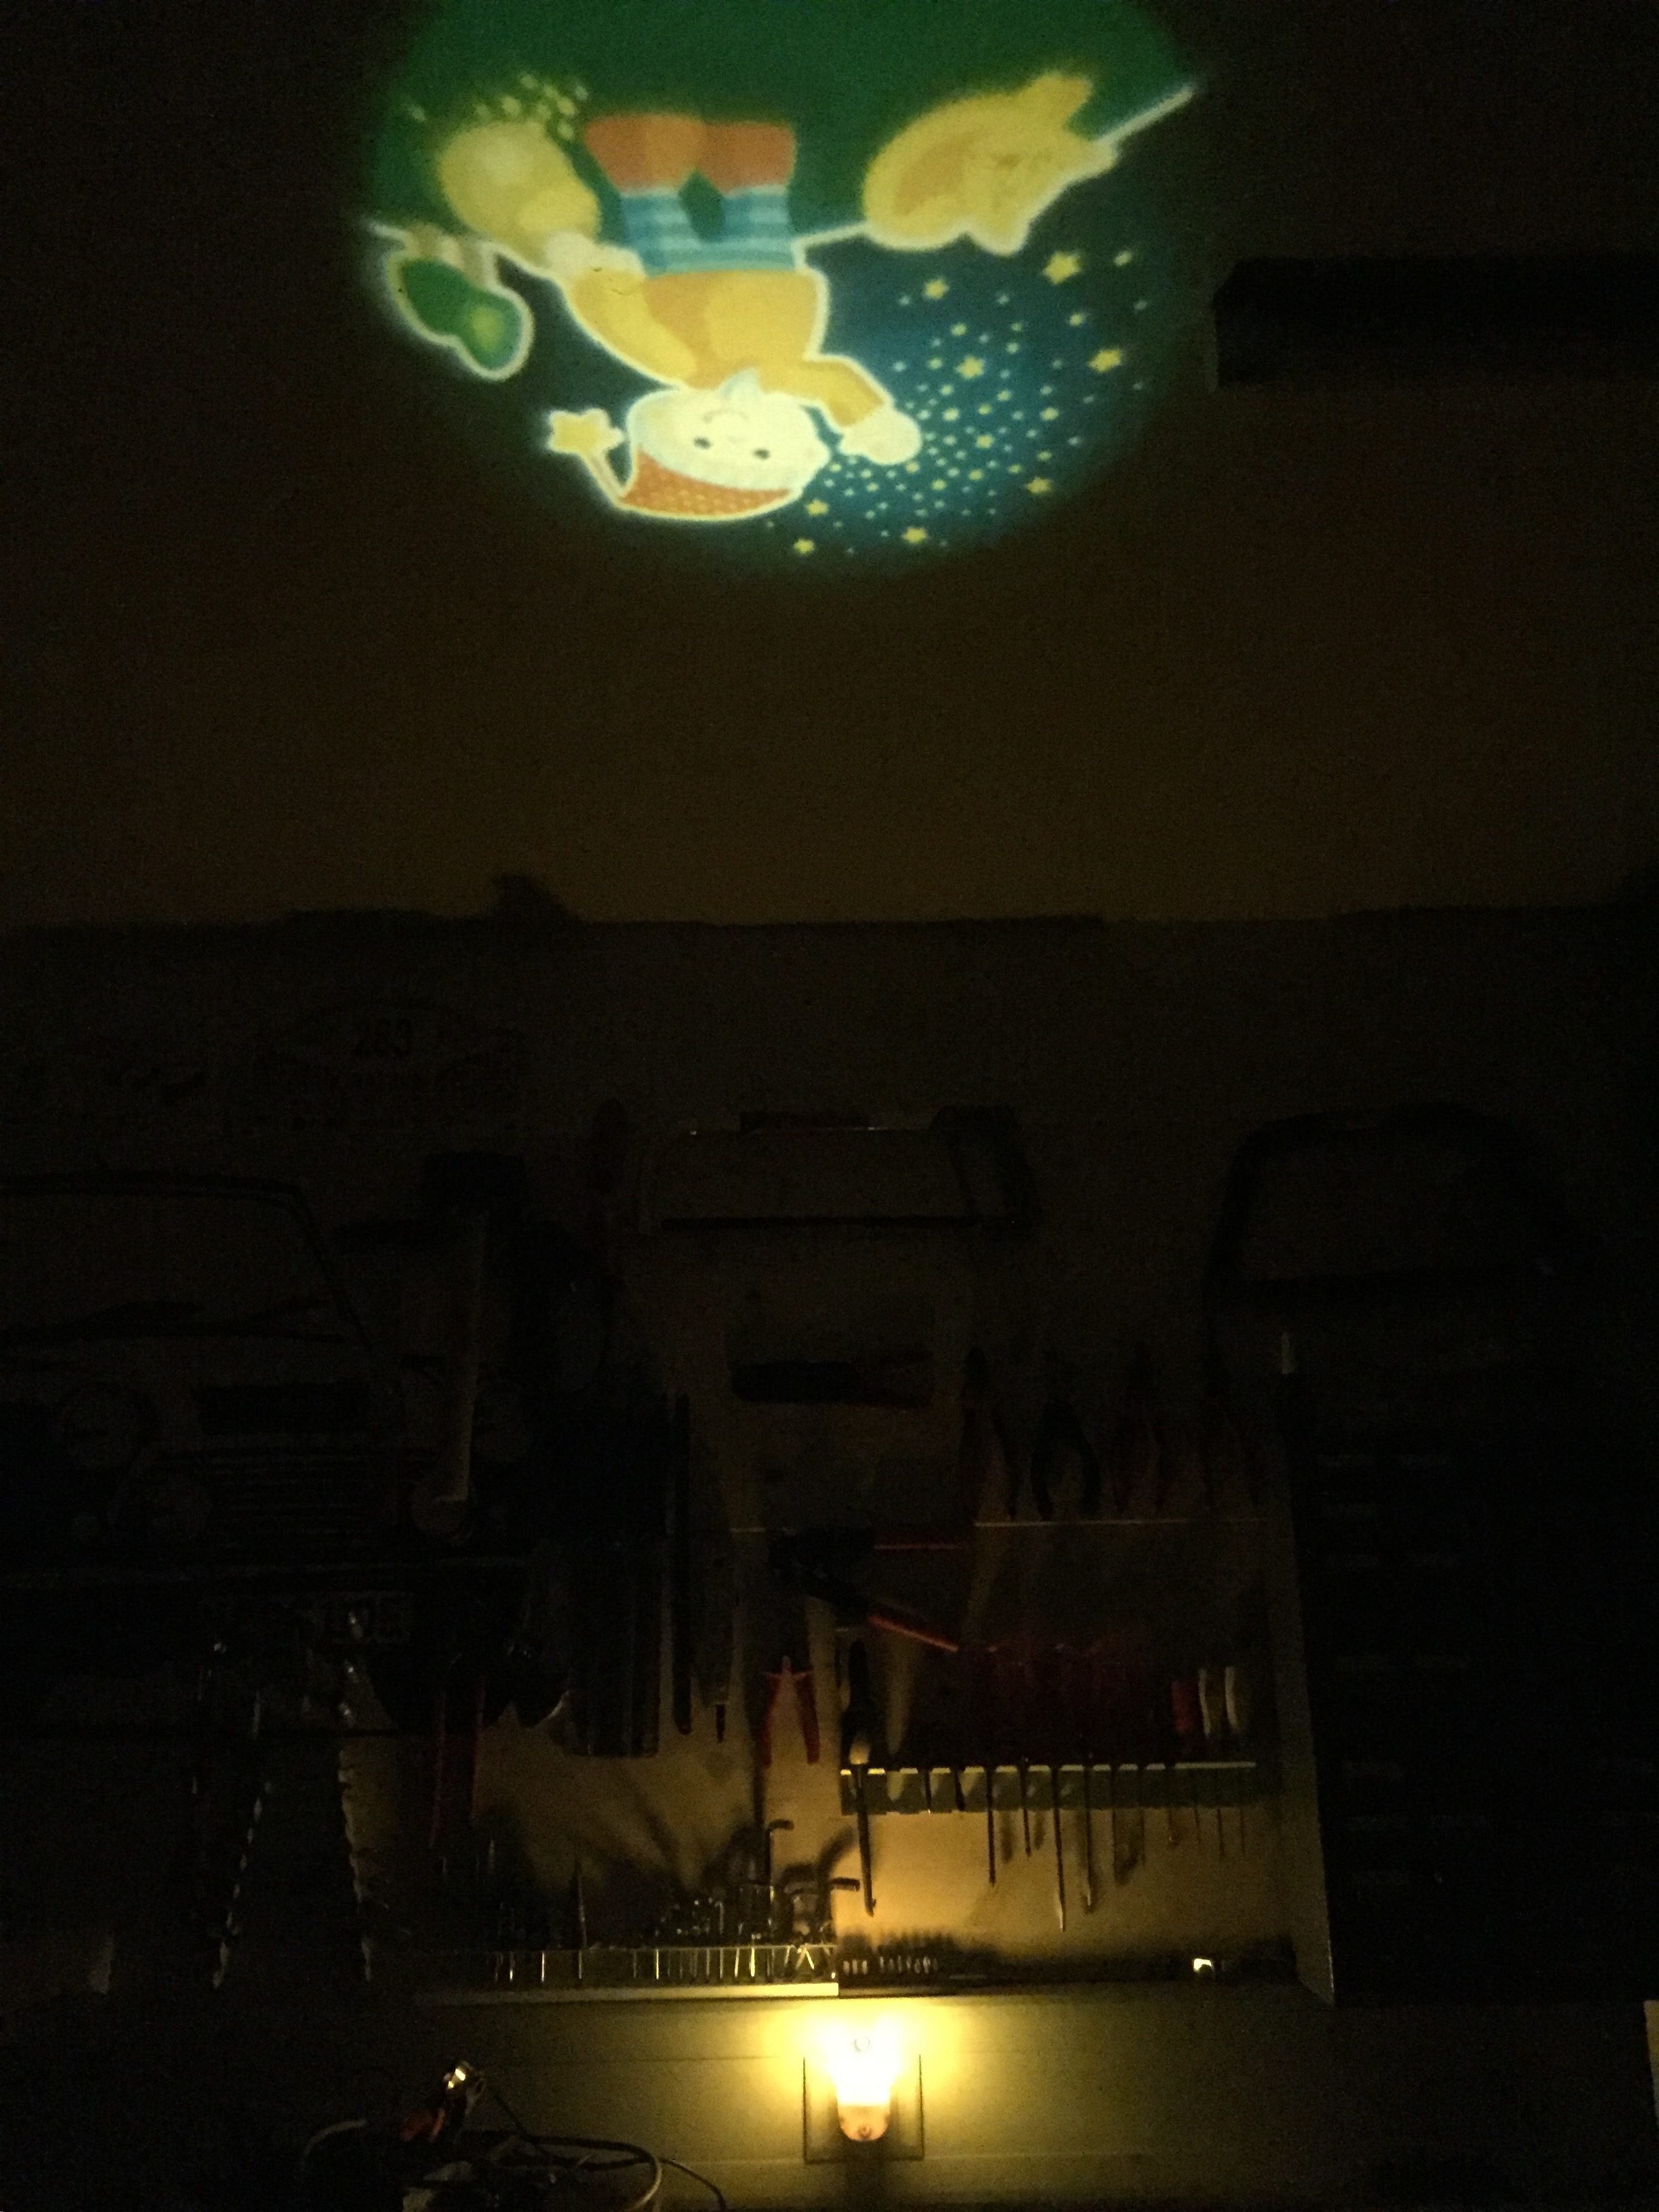
Die Litzen einfach neu abisolieren und wieder anlöten, dann sollte das wieder für ein Weilchen halten. Die Nachtlichter funktionieren jedenfalls wieder:


Update 07.04.2022: Heute nach etwas über zwei Jahren hat unsere kleine Tochter mit beiden Lämpchen Disco gespielt, beide wieder kaputt. Diesmal haben die roten Litzen nachgelassen. Mein Spezialschraubendreher kam wieder zum Einsatz 😉

Beide roten Litzen neu gelötet, das wird nun hoffentlich das letzte Mal gewesen sein.
Wenn die nun wieder 2 Jahre halten, denke ich haben sie dann ausgedient.

Inspect SSL/TLS Traffic from Chrome/Firefox/curl with Wireshark (no mitm!)

Note 12.01.2020: Updated instructions and printscreens for Wireshark v3.0.

Firefox, Chrome and curl offer the possibility to save the session-keys for https connections. Just set the environment variable “SSLKEYLOGFILE” to a file where you want to store the keys. We do not need to start a man in the middle (mitm) proxy.

Example for MAC OS, execute this in the Terminal:

export SSLKEYLOGFILE=/Users/username/Documents/sslkeylog.log

Then start your Browser (Chrome, Firefox) or curl from the same Terminal-Session.

open -n /Applications/Firefox.app

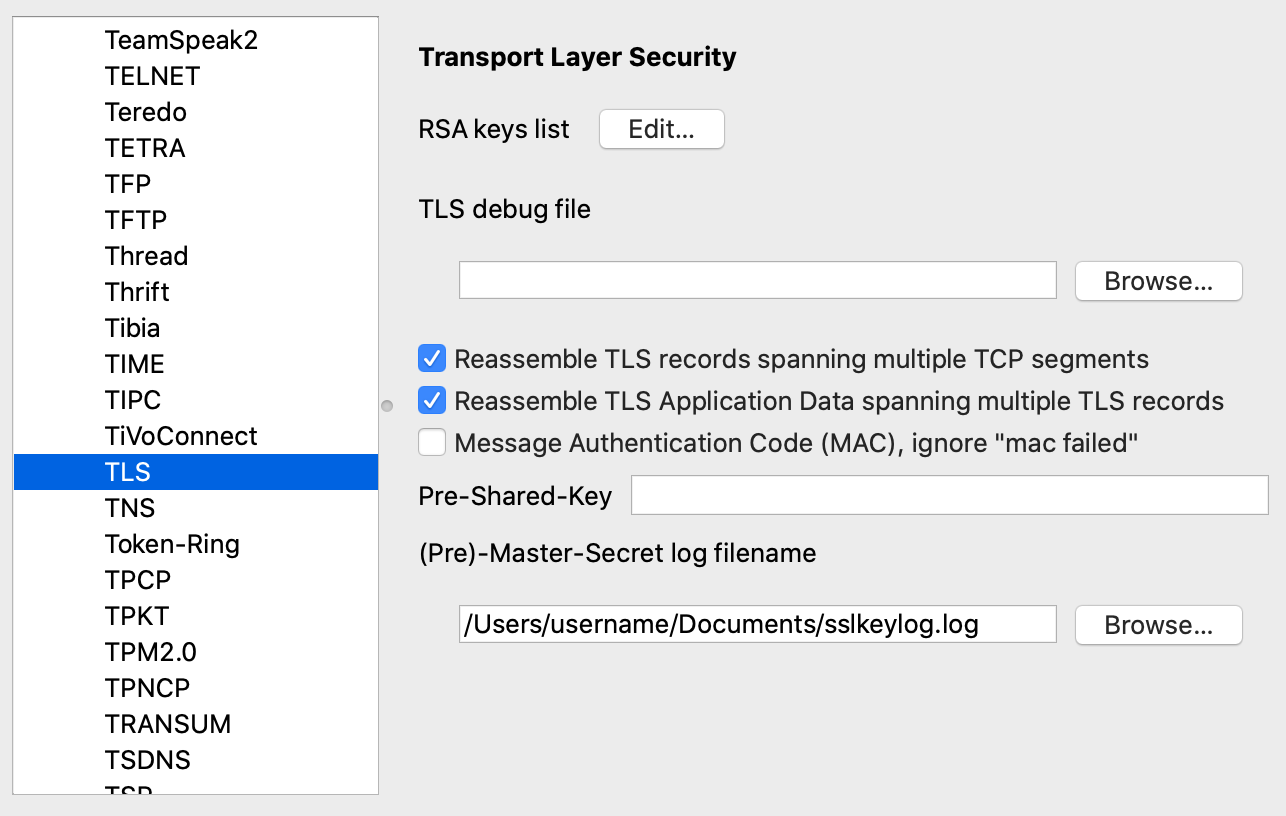
Now start Wireshark, and go to “Preferences” -> “Protocols” and choose “SSL”. Set the Path to your keylog-file. This tells wireshark to read the Keylog-File for decrypting the captured traffic.

[NOTE:] Since Wireshark 3.0, the TLS dissector has been renamed from SSL to TLS.WIreshark TLS Settings

The following TCP protocol preferences are also required to enable TLS decryption:
– Allow subdissector to reassemble TCP streams. Enabled by default.
– Reassemble out-of-order segments (since Wireshark 3.0, disabled by default).

Now start capturing and see the decrypted traffic. Easy hm?

Wireshark TLS decrypted

I made me a script which sets the variable, opens Firefox and Wireshark:

#!/bin/bash
export SSLKEYLOGFILE=/Users/username/Documents/sslkeylog.log 
open -n /Applications/Firefox.app
open -n /Applications/Wireshark.app

This works the same way on Windows and Linux. On Windows you need the SET command or create a new environment variable in “Control Panel” -> “System” -> “Advanced System Settings” -> “Environment Variables”. Create a new one with name “SSLKEYLOGFILE” and the path to your logfile as value.

Links:
https://wiki.wireshark.org/TLS

Windows Device Manager: Show hidden devices

Sometimes there is a problem especially when switching network cards in virtual machines, that the old card remains hidden with it’s ip-config. If you want to configure a new device with the same IP-Address, you will get a warning that this IP-Address is already used on another interface. Of course you can’t delete the configured IP-Address, because the old device is not available anymore and somewhere hidden.

Now you can try to fiddle in the registry, but there is a clean way:

Start a command prompt as Admininstrator and then enter:

set devmgr_show_nonpresent_devices=1
start devmgmt.msc

Now you have to enable “Show hidden devices” in the menu of Device Manager and tadaaa, you see all devices which are not existing anymore. If you do not see the devices, make sure you start devmgmt.msc from the same cmd window where you set the devmgr_show_nonpresent_devices variable.

You can now remove the unused devices.

This setting is not permanent and stays only within this command line session.

Update an ESXi Host from SSH

Notes how to update a VMware ESXi host:

1. Download Patch from VMware

2. Load it on a Datastore (e.g. with scp) on the ESXi host and connect with SSH. SSH Server must be activated if it’s not already done (Host -> Manage -> Services).

3. Show version:

vmware -vl
VMware ESXi 6.5.0 (Build 4887370)
VMware ESXi 6.5.0 Update 1

3a. Optional: List all installed VIB’s:

esxcli software vib list

4. Move all VM’s to another Host or shut down, then activate Maintenance Mode:

vim-cmd hostsvc/maintenance_mode_enter

5. Start Update:

esxcli software vib update -d /vmfs/volumes/datastore1_local/patch/ESXi650-xxxxxxxxxx.zip

6. The updater will show if it’s necessary to reboot the machine.

7. Show new version:

vmware -vl
VMware ESXi 6.5.0 build-7388607
VMware ESXi 6.5.0 Update 1

8. End Maintenance mode:

vim-cmd hostsvc/maintenance_mode_exit

9. Start VM’s again.