vCenter Server behind NAT

Be warned: This configuration is not officially supported by VMware.

If you have your vCenter Server behind NAT, you can not connect your ESXi Host to this Server. It will loose connection after a few seconds to vCenter because vCenter publishes his private IP to the configuration of ESXi.

1. We need an port forwarding of port TCP/UDP 902 from your public IP to the internal IP of the vCenter Server. If you have a Firewall, allow connections only from the IP of your ESXi host.

2. Connect over SSH to the ESXi Host and edit vpxa.cfg with vi:

vi /etc/vmware/vpxa/vpxa.cfg

Configure the following settings:

Insert this tag, if you don’t add this tag and restart the services, it will overwrite the IP again with the private one of vCenter:

<preserveServerIp>true</preserveServerIp>

Replace the private IP of the vCenter Server with the public one:

<serverIp>PublicIPvCenterServer</serverIp>

Restart services:

/etc/init.d/hostd restart

Now the connection should stay stable.

HomeAssistant on Raspberry Pi

home-assistant-logo

This are my notes to install home-assistant on a raspberry-pi 3. At the end, this is a multipart how-to for installing home-assistant and mosquitto (MQTT) with a NodeMCU and some magnetic contacts.

Copy Raspbian Lite to an SD Card on Mac OSX (use rdisk is faster):

sudo dd if=Downloads/2017-11-29-raspbian-stretch-lite.img of=/dev/rdisk4 bs=4m conv=sync

Enable SSH (create a file named ssh on the SD-Card):
touch /Volumes/boot/ssh

Put the SD-Card into your raspberry and boot it up.

Login and change password of user pi and root:
passwd
sudo passwd root

Configure WLAN:
wpa_passphrase “YourWLANSSID” “yourWLANPassword”
Configure WLAN in /etc/wpa_supplicant/wpa_supplicant.conf:
country=CH
ctrl_interface=DIR=/var/run/wpa_supplicant GROUP=netdev
update_config=1

network={
ssid=”YourWLANSSID”
#psk=”yourWLANPassword” <<<<<—– REMOVE THIS COMMENTED LINE!
psk=131e1e221f6e06e3911a2d11ff2fac9182665c004de85300f9cac208a6a80531
}

You have a fixed IP? (preferred!)
Edit /etc/dhcpcd.conf and set the hostname inside this file.
Add config for your interface:
interface wlan0
static ip_address=192.168.0.XXX/24
static routers=192.168.0.XXX
static domain_name_servers=XXX.XXX.XXX.XXX, XXX.XXX.XXX.XXX
static domain_search=some.domain.com
static domain_name=some.domain.com

Use raspi-config to configure your raspberry hostname and partition then reboot.

Continue reading HomeAssistant on Raspberry Pi

DIY Airplane tracker (ADS-B tracking)

Do you want to build your Airplane tracker by yourself? It’s easy and it’s realtime, not delayed like flightradar24.

What do you need?

Here are the steps for Linux/Unix Systems:
Download and unzip the Software:

wget https://github.com/antirez/dump1090/archive/master.zip
unzip master.zip

Change into the unzipped directory and execute make:

cd dump1090-master/
make

Plug in your DVB-T stick and launch dump1090:

./dump1090 --interactive --net

The option “interactive” tells the program to output planes with automatically refreshed screen every second
The option “net” enables networking support.

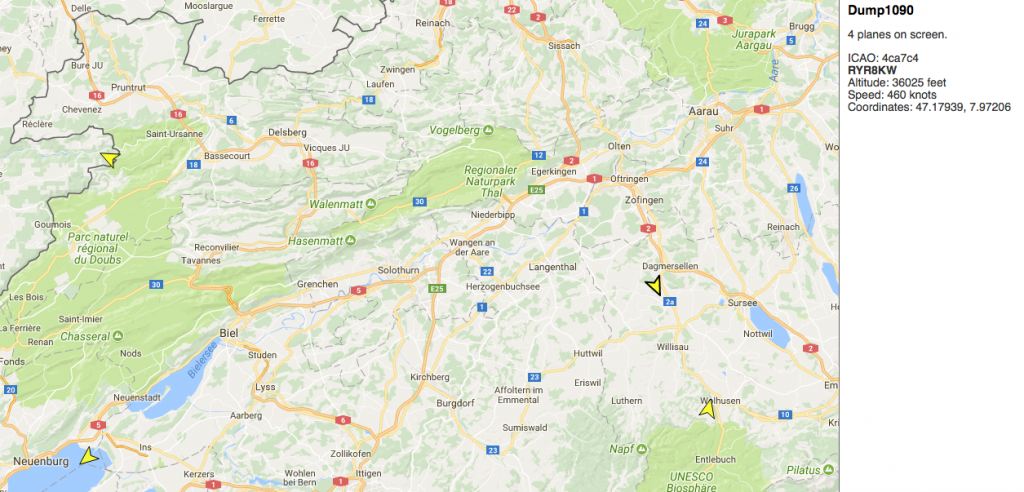
After a few seconds you should see the first planes:

You can even connect with your webbrowser to http://127.0.0.1:8080 to see the planes on a map.

Now you should see planes near you. It’s best to go outside with your antenna to track airplanes. You can even build better antennas 😉 See the links below.

Happy plane tracking!

DIY Antenna: ADS-B wine cork antenna
Or if you use Windows see this post here: dump1090 on Windows

How to use iperf on an ESX host

Did you ever want to test the network-speed to your ESX-Host with iperf? iperf exists already on installations with vSphere 6.0. Follow this short description:

iperf is located on the ESX host at /usr/lib/vmware/vsan/bin/iperf

Execution of /usr/lib/vmware/vsan/bin/iperf gives an error:

bind failed: Operation not permitted

Workaround: Make a copy of the binary:

cp /usr/lib/vmware/vsan/bin/iperf /usr/lib/vmware/vsan/bin/iperfcopy

Disable the firewall during the tests:

esxcli network firewall set --enabled false

Start the copy of iperf:

/usr/lib/vmware/vsan/bin/iperfcopy -s

Perform tests from client: (download iperf here)

iperf -c <ESX-IP>

After the tests, don’t forget to re-enable the firewall with:

esxcli network firewall set --enabled true

Arduino powered Bobbycar for my Son

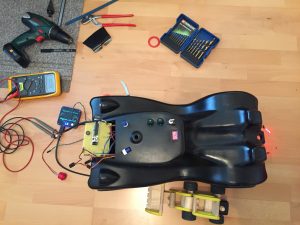
A project I’m currently working on, is the Arduino powered Bobbycar for my Son.
Because my Son is currently so interested in Switches / Buttons and Lights, I decided to add some on his Bobbycar with future extension possibilities.

I did not want to destroy his new Bobbycar, a gift from his Godmother. So I bought a used one (with trailer) for 20 bucks on ricardo.

BobbyCar

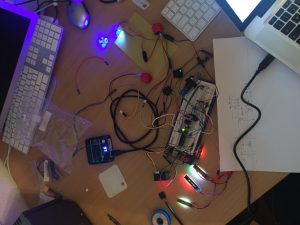
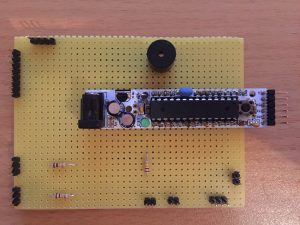
Prototype cabling & programming the RBBB (Also already used in this Project):

Cabling

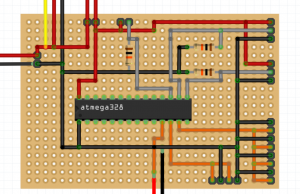
Prototype Board designed with Fritzing:

fritzing-bobby

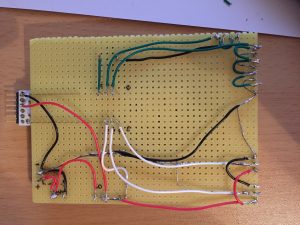
img_7075 img_7076

19.11.2016: Put all together.

img_7077

20.11.2016: Drilling, soldering, FINISHED 😉

carinaction