This Post describes, how to install the UniFi Network Server as Docker image on a QNAP NAS.
The first step is to make sure you’ve installed Container Station from the QNAP App Center. After this, open Container Station, go to “Applications” and click “Create”. Give your application a name, for example “unifi-and-mongodb”. Upload this yaml-code for docker-compose, replace “UNIFIPASSWORD” with a secure password, you will use this later to configure the database:
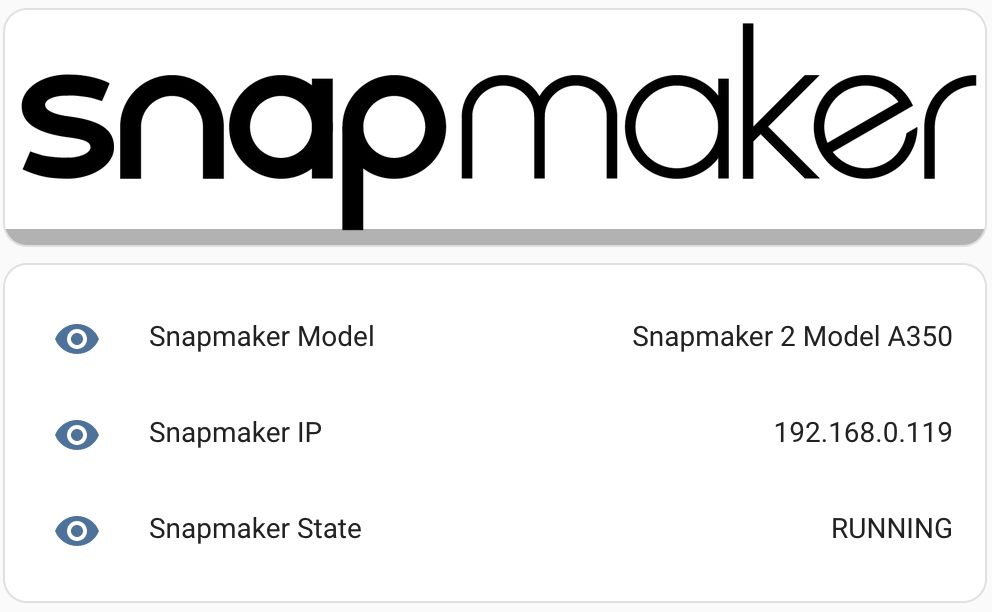
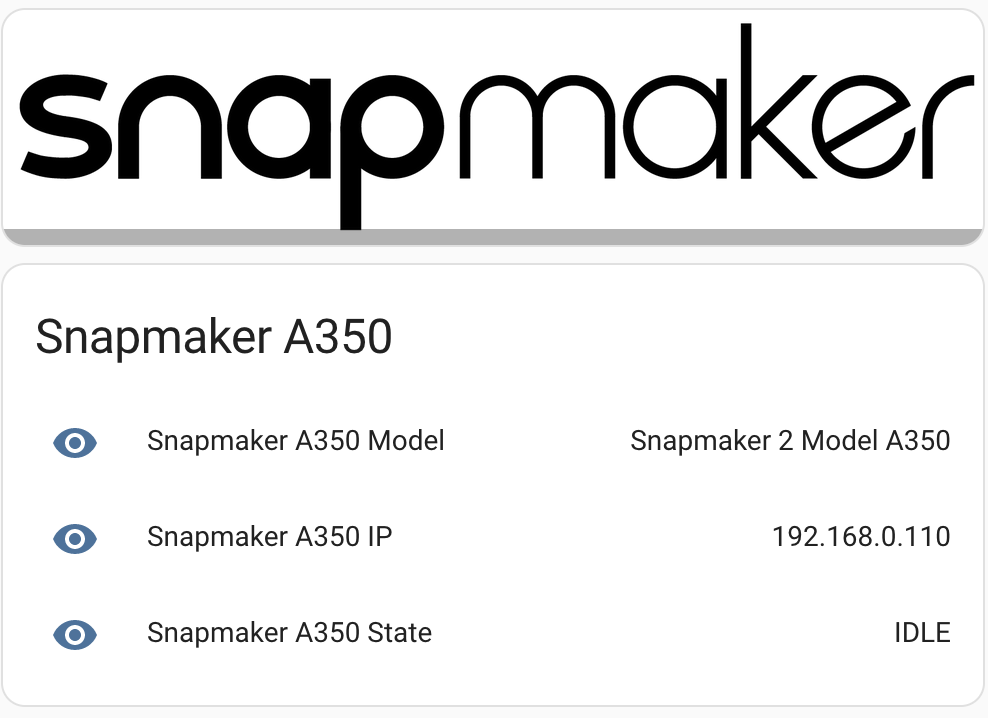
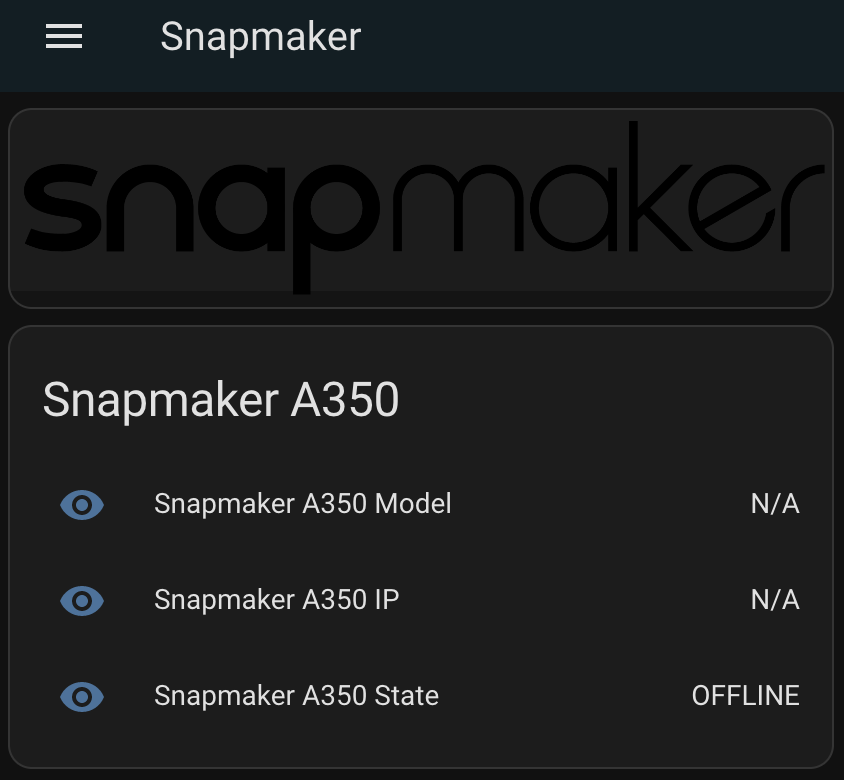
Did you know that it’s possible to discover your Snapmaker 2.0 in your LAN? Just send an UDP discover Broadcast to Port 20054 and your Snapmaker will reply with his IP-Address, Model-Name and Status.
Update 19.01.2024: This project got some reactions, see here: HomeAssistant-Forum and here: Snapmaker-Forum Meanwhile I created a new Script V2 which gets more Information from the Web-API, this makes the information below obsolete. -> See new code on github Maybe I will try to write a HomeAssistant Integration someday….
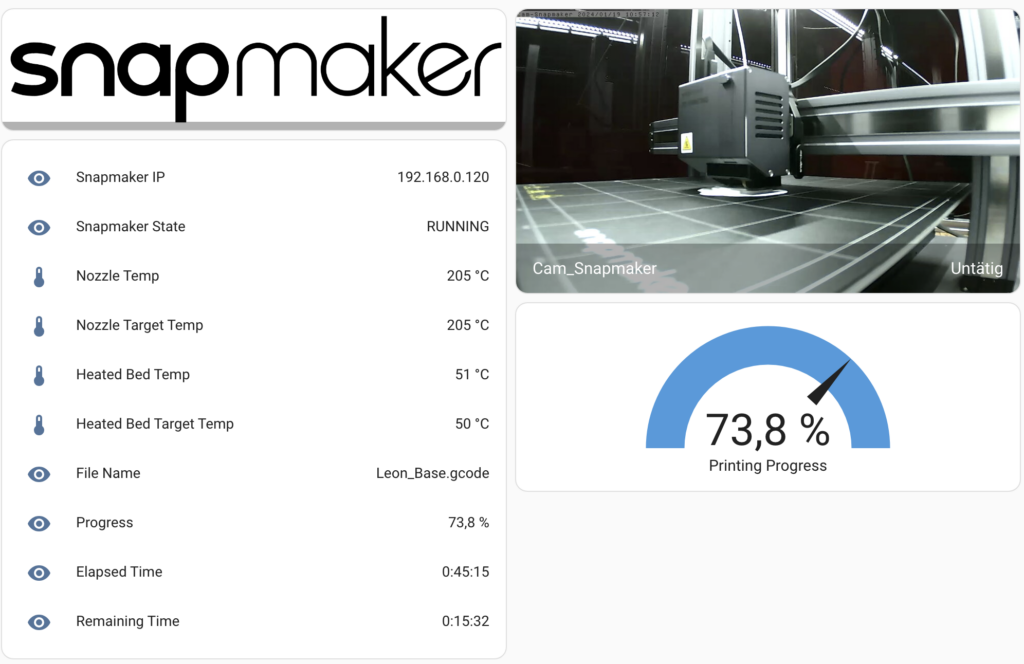
With this function, I inform my Home Assistant about the state of my Snapmaker. Home Assistant sends me a push-message if the 3D-Print, Laser-Cut or CNC is finished. Because I only need this information, it’s not necessary to login, get info and logout to the Snapmaker. Maybe I will write another script in future to read other values like process, temperatures, enclosure state etc.
Here is an example of my webhook-sensors in templates.yaml: (For more details see this Link)
Then download the code on github and edit the python-script to your needs. Run it in a cronjob, I do that on a separate raspberry-pi for example every 5min.
I hope this will help you to get at least some information from your Snapmaker to Home Assistant. I still hope that we can get more information in future from an usable Snapmaker-API 😉
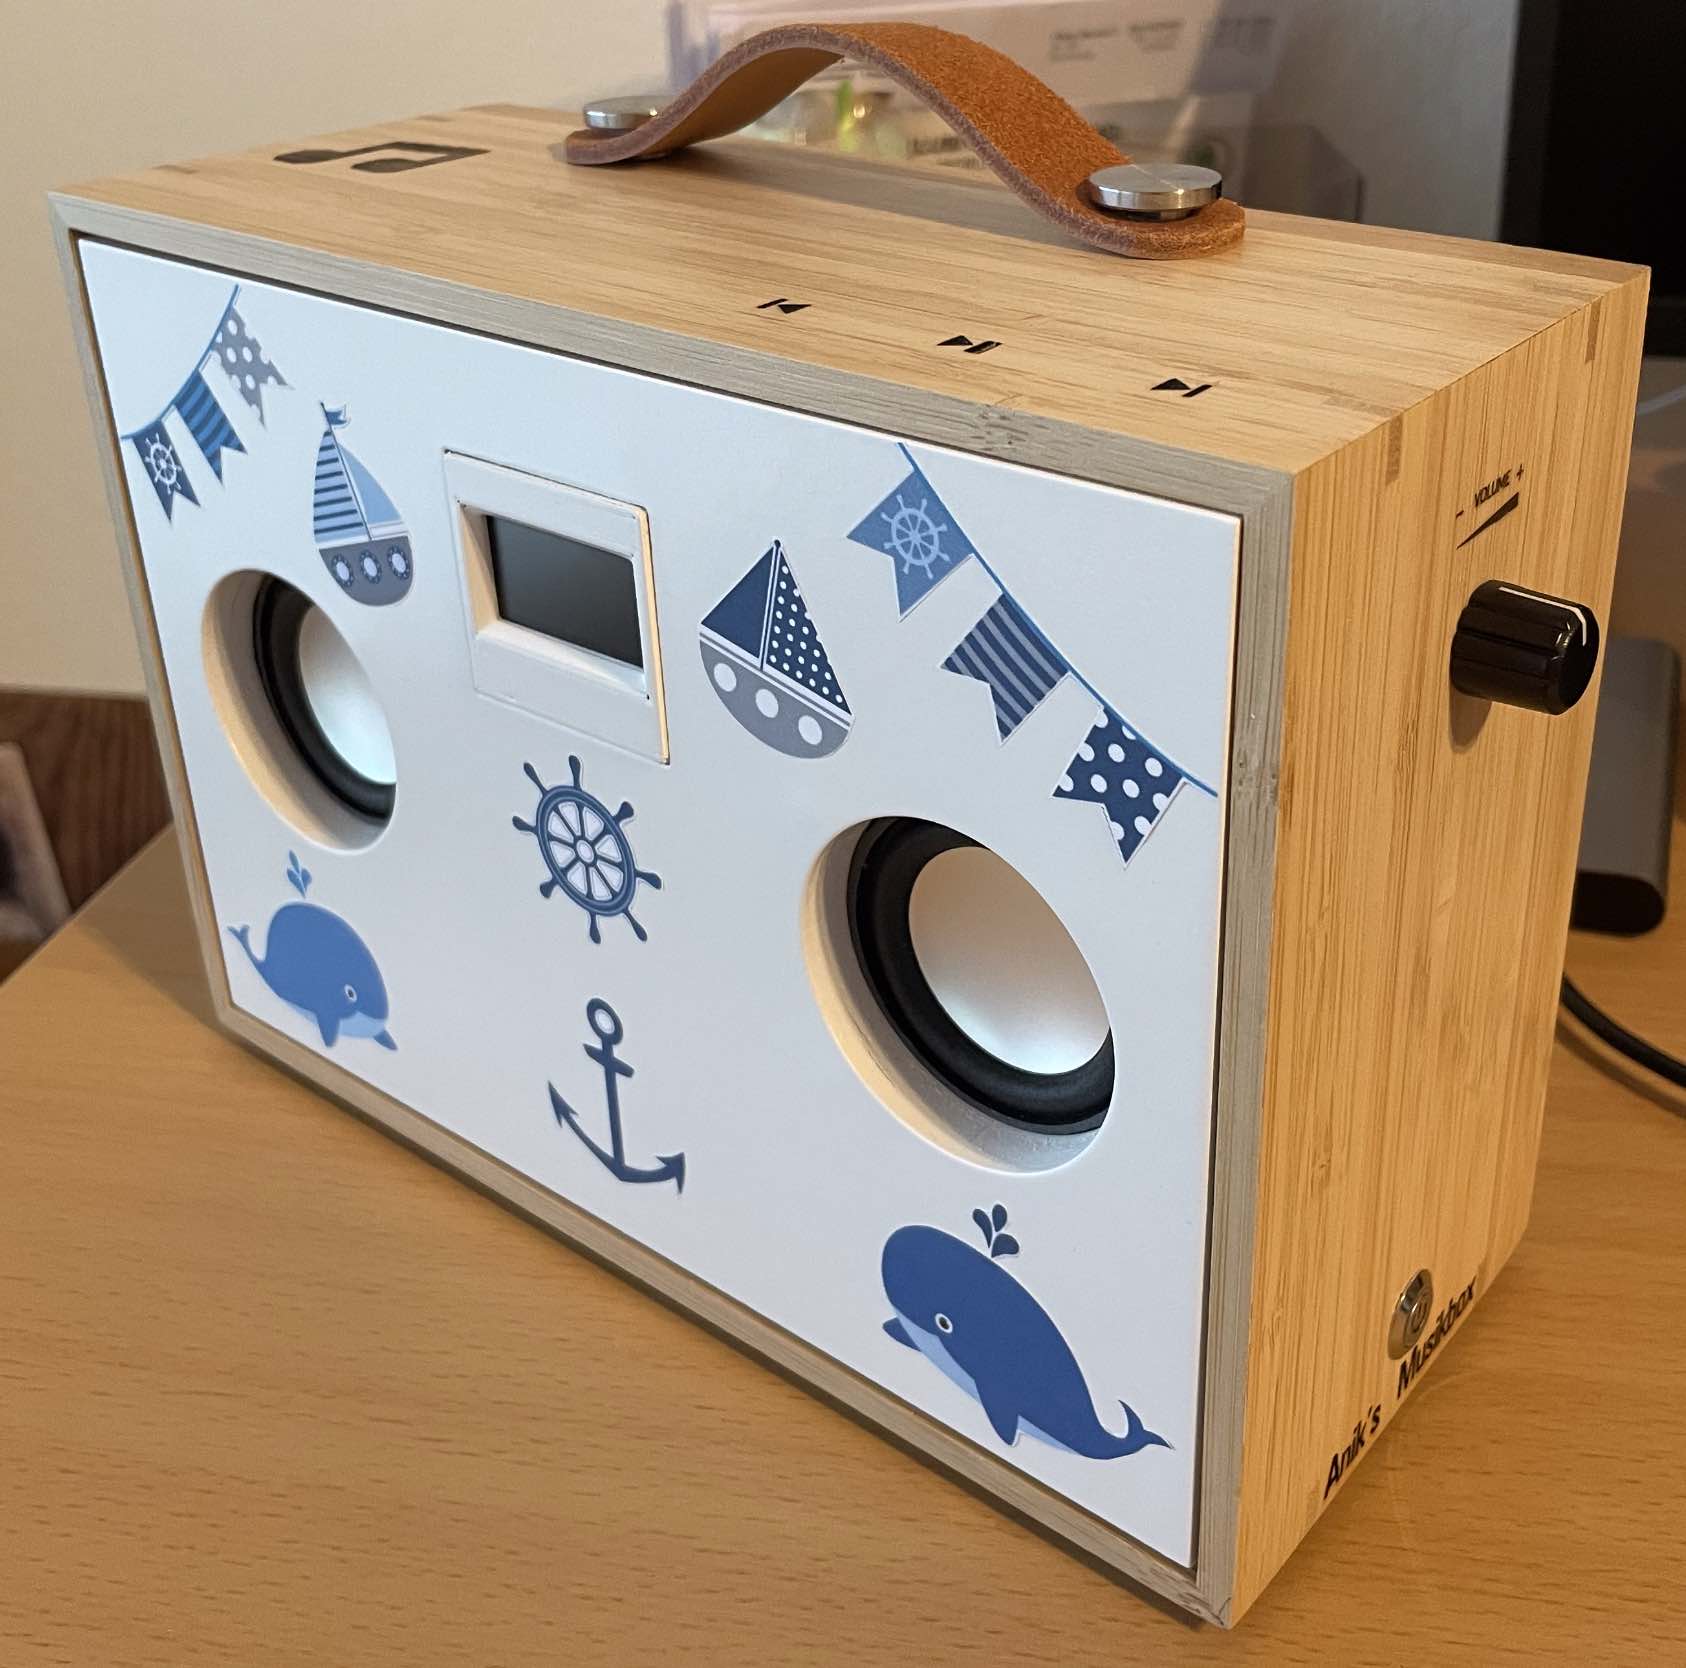
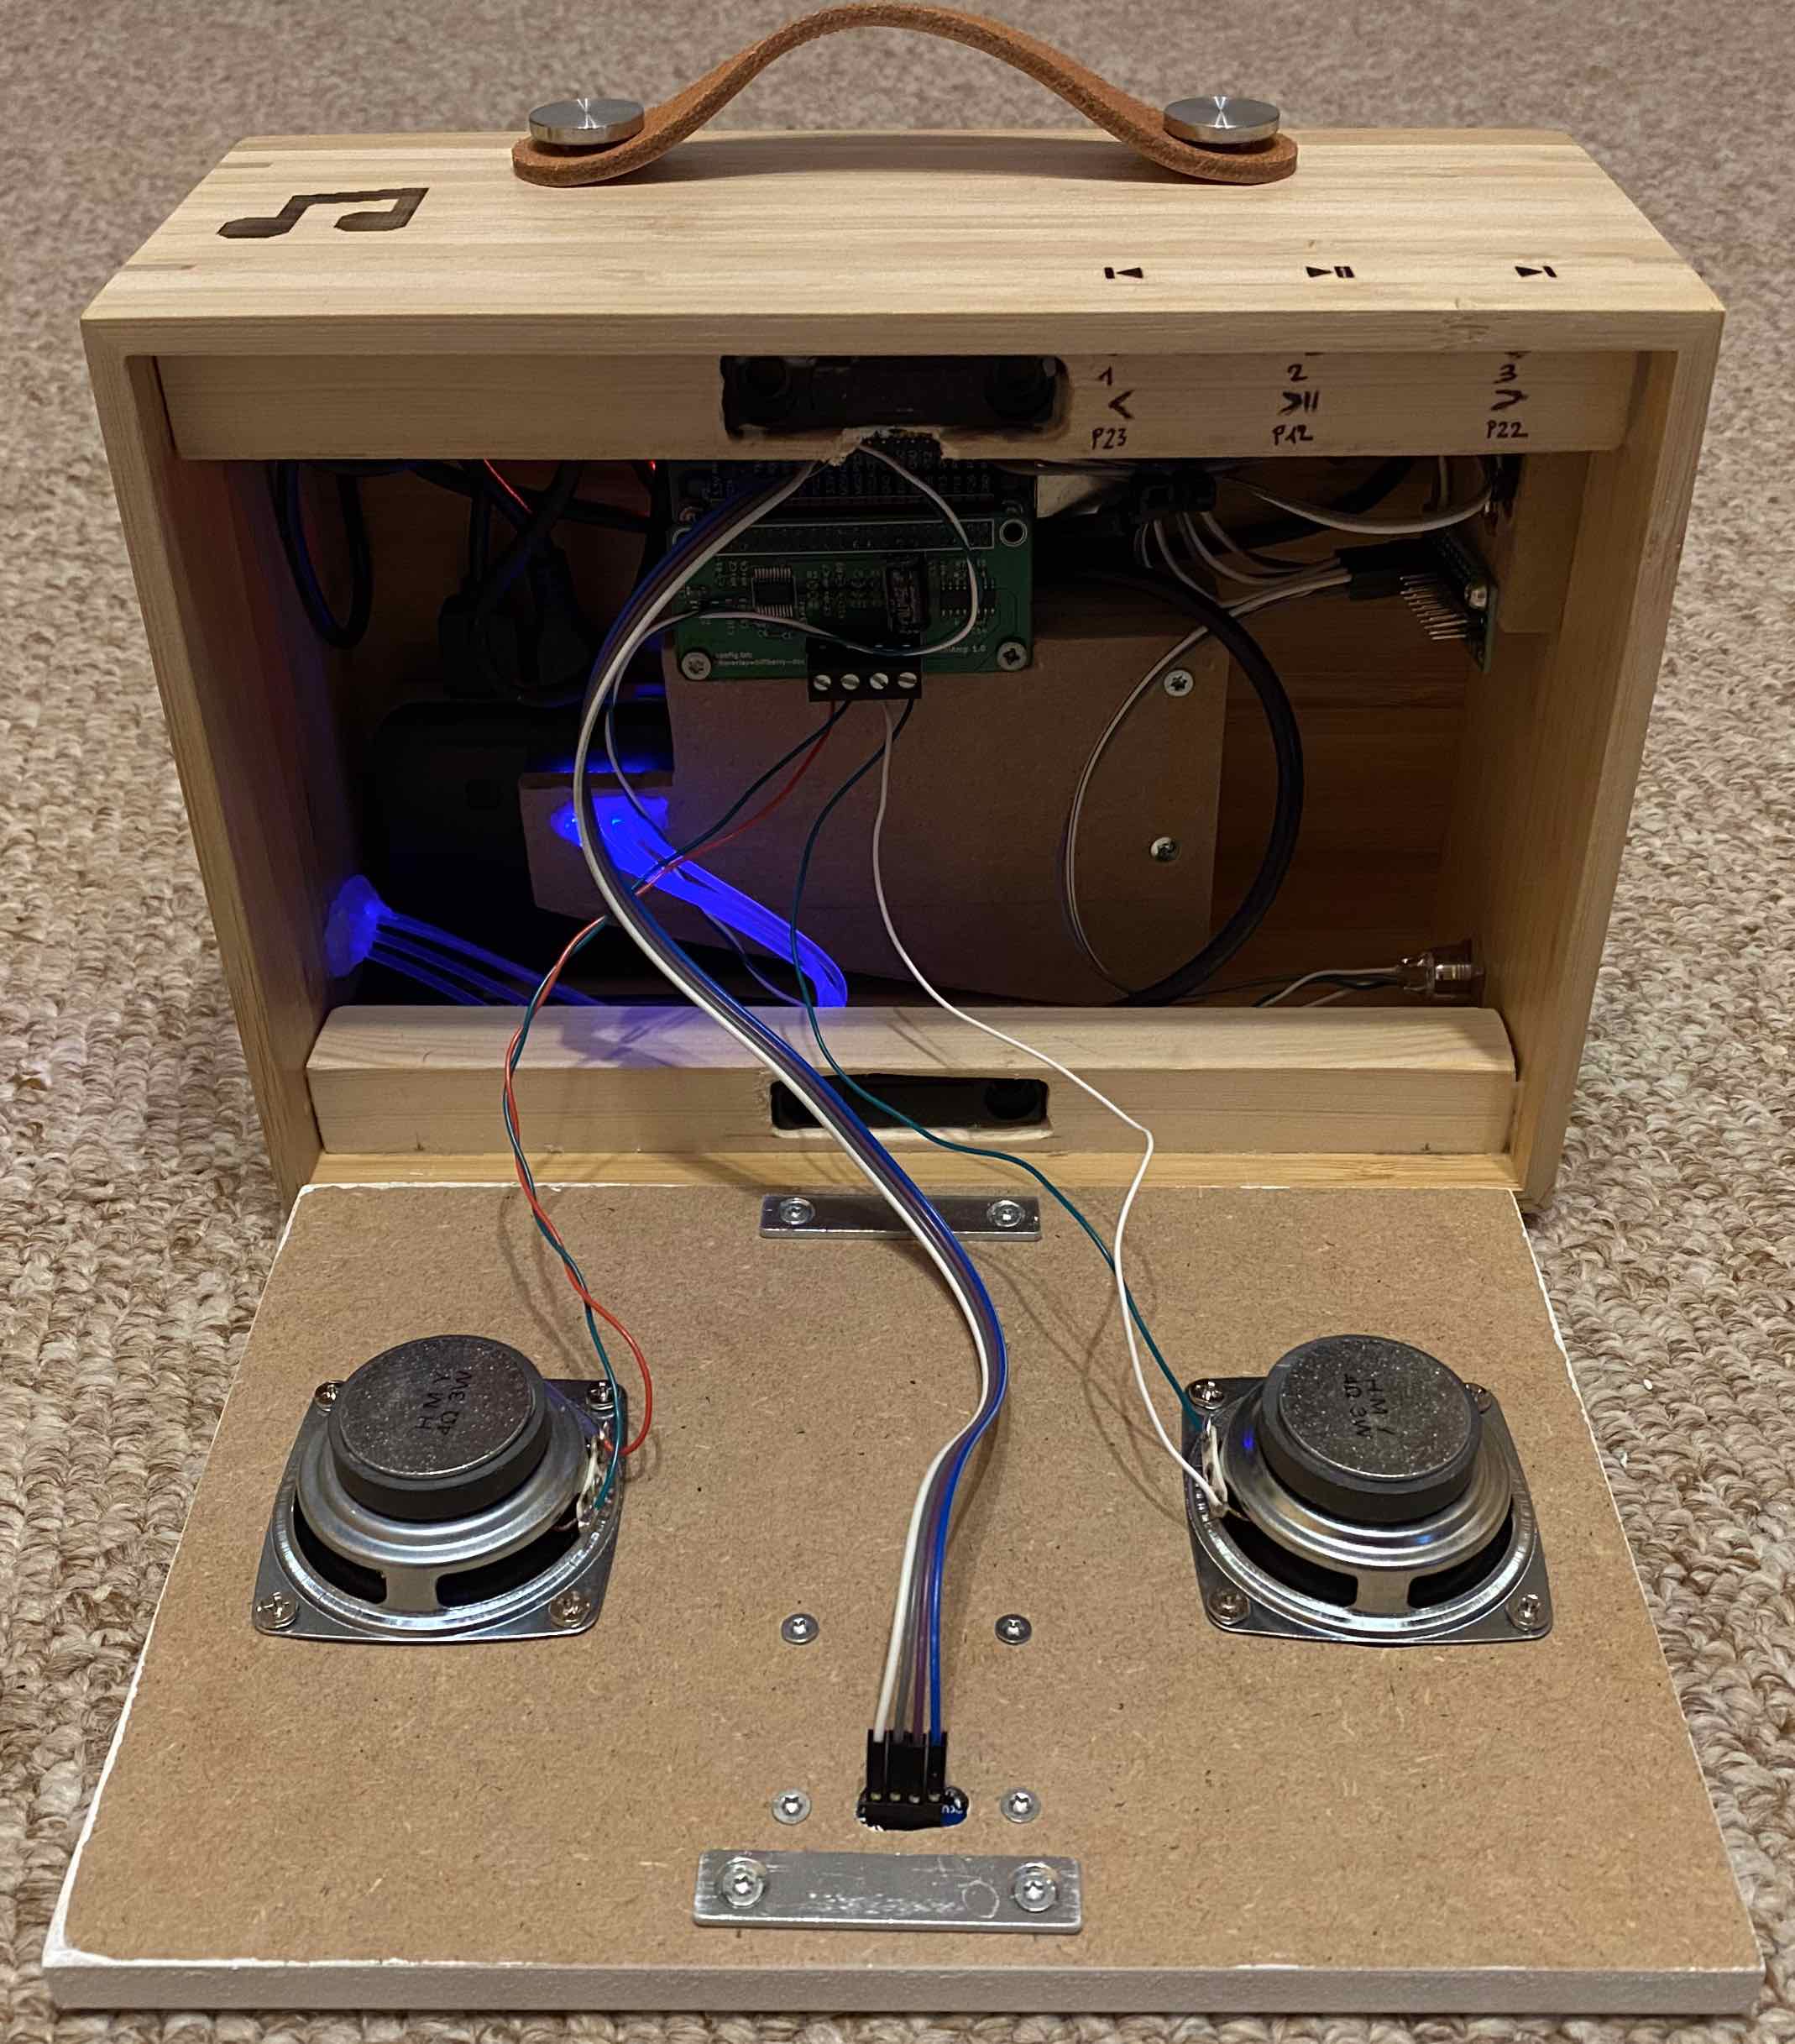
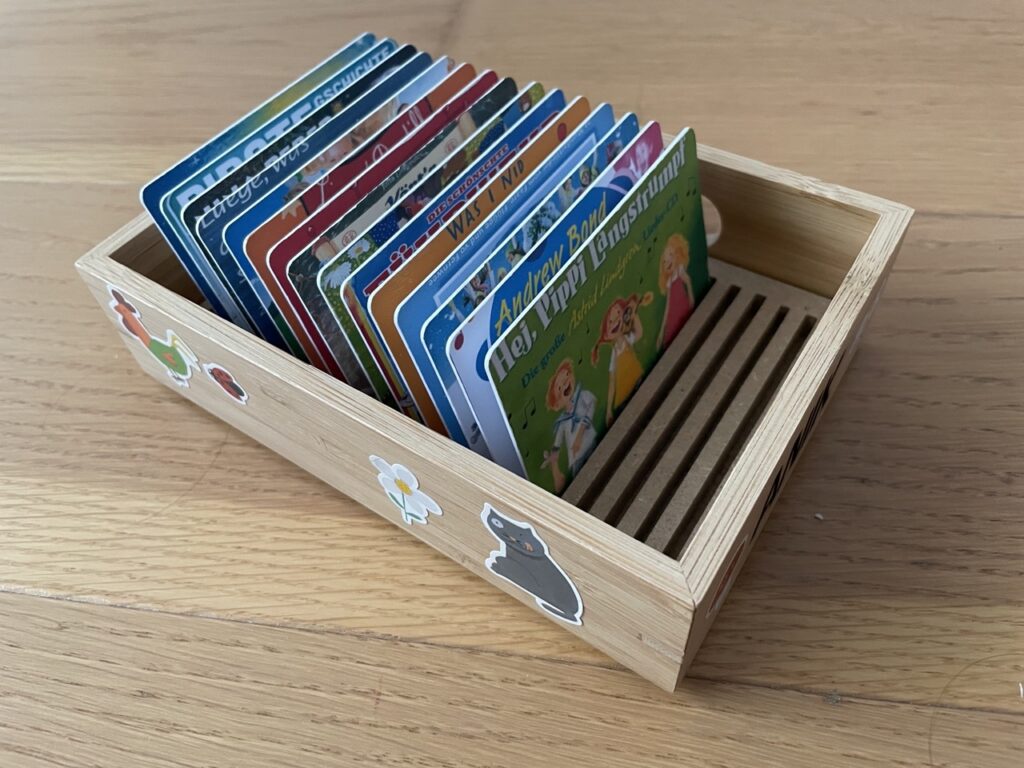
Ich habe unserer Tochter zu Weihnachten eine Phoniebox gebaut. Grundsätzlich findet man alle nötigen Informationen auf der Webseite der Phoniebox, ich beschreibe hier rudimentär die Schritte die ich gemacht habe und die verwendete Hardware. Die Front wurde gefräst, der Rahmen vom OLED-Display mit PLA gedruckt und die Symbole gelasert, alles mit dem Snapmaker 2.0 A350. Zusätzlich habe ich aus einer Schublade vom Dragan eine Aufbewahrungsbox für die RFID-Karten gemacht.
2. Load it on a Datastore (e.g. with scp) on the ESXi host and connect with SSH. SSH Server must be activated if it’s not already done (Host -> Manage -> Services).
Be warned: This configuration is not officially supported by VMware.
If you have your vCenter Server behind NAT, you can not connect your ESXi Host to this Server. It will loose connection after a few seconds to vCenter because vCenter publishes his private IP to the configuration of ESXi.
1. We need an port forwarding of port TCP/UDP 902 from your public IP to the internal IP of the vCenter Server. If you have a Firewall, allow connections only from the IP of your ESXi host.
2. Connect over SSH to the ESXi Host and edit vpxa.cfg with vi:
vi /etc/vmware/vpxa/vpxa.cfg
Configure the following settings:
Insert this tag, if you don’t add this tag and restart the services, it will overwrite the IP again with the private one of vCenter:
<preserveServerIp>true</preserveServerIp>
Replace the private IP of the vCenter Server with the public one: